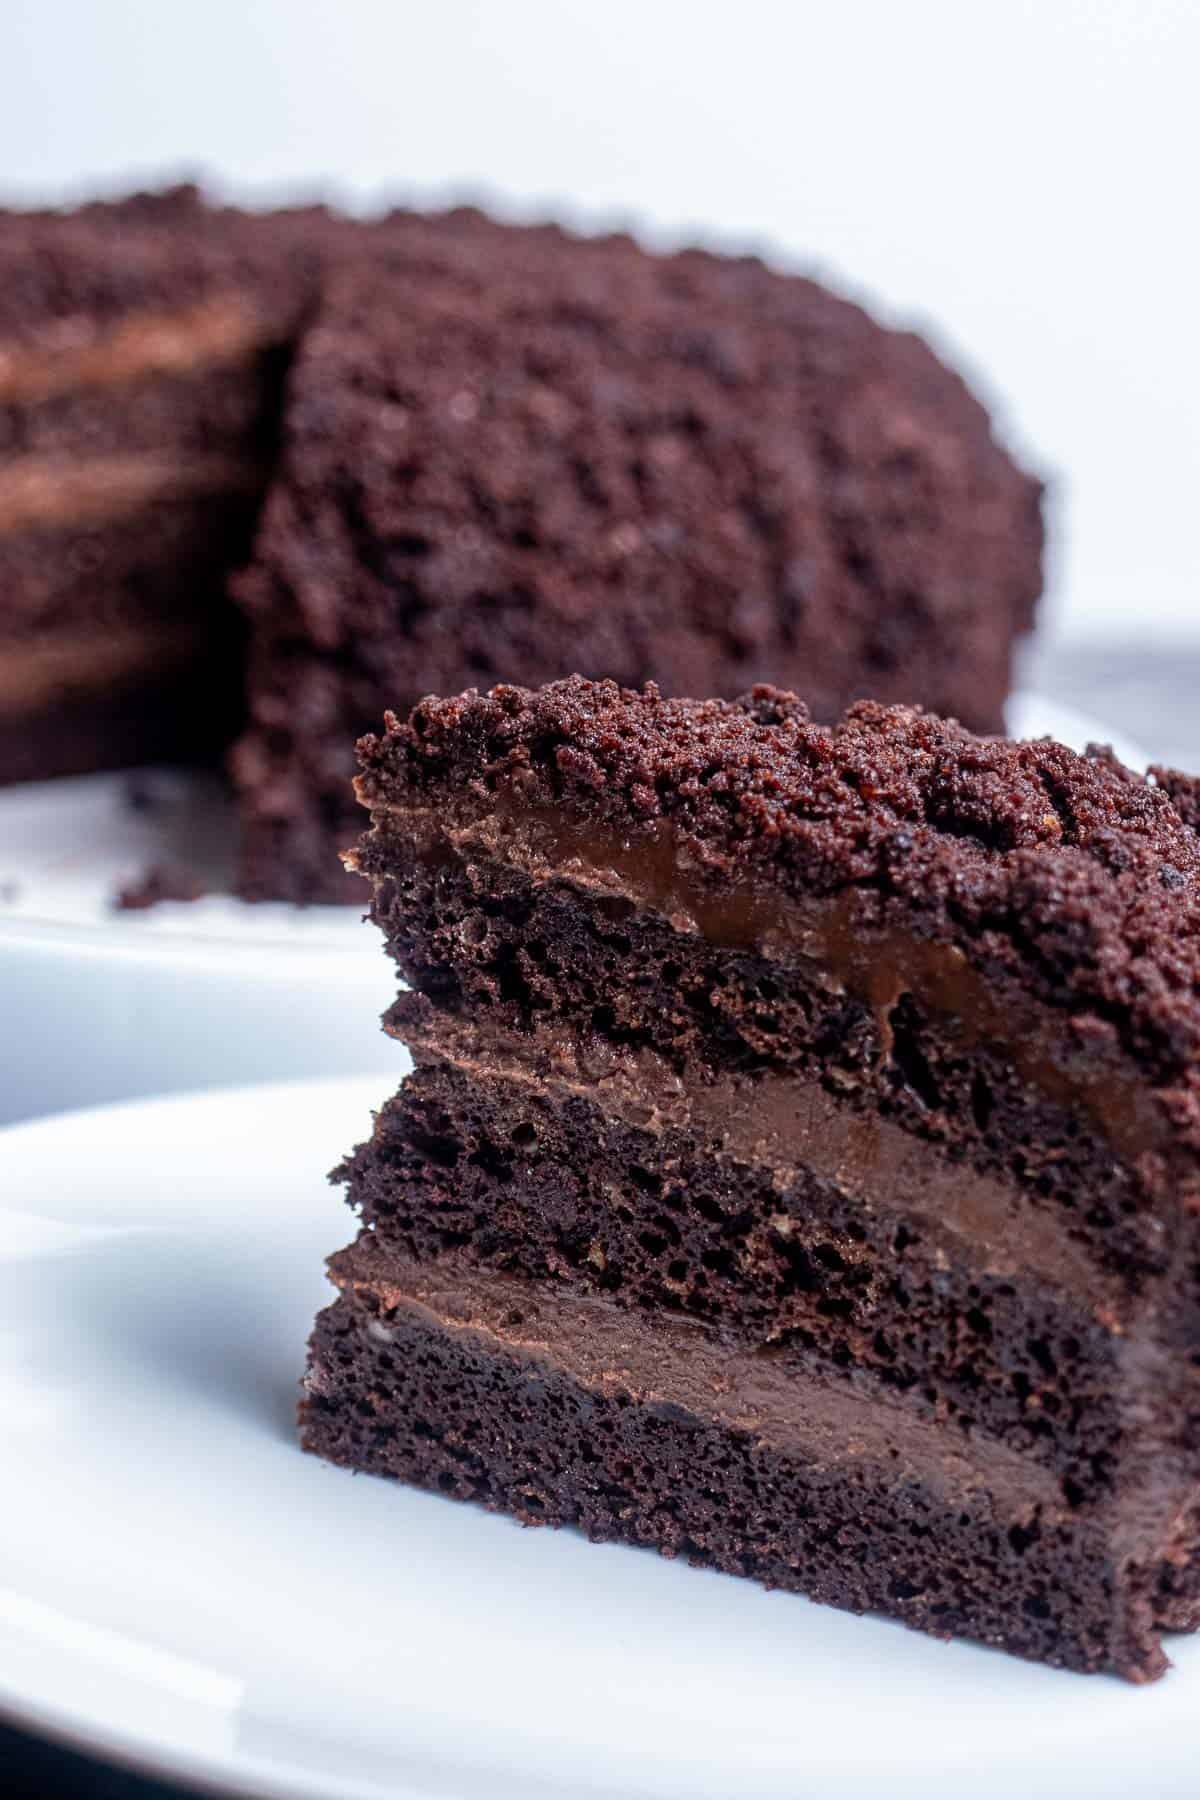
This decadent chocolate layer cake is moist, slightly fudgy, and totally addictive. Brooklyn blackout chocolate cake is an iconic American dessert with a unique look and a ton of variations on the original recipe. If you’re looking for a chocolate cake recipe that’s a little different, but rich and flavorful, blackout cake is a perfect choice.
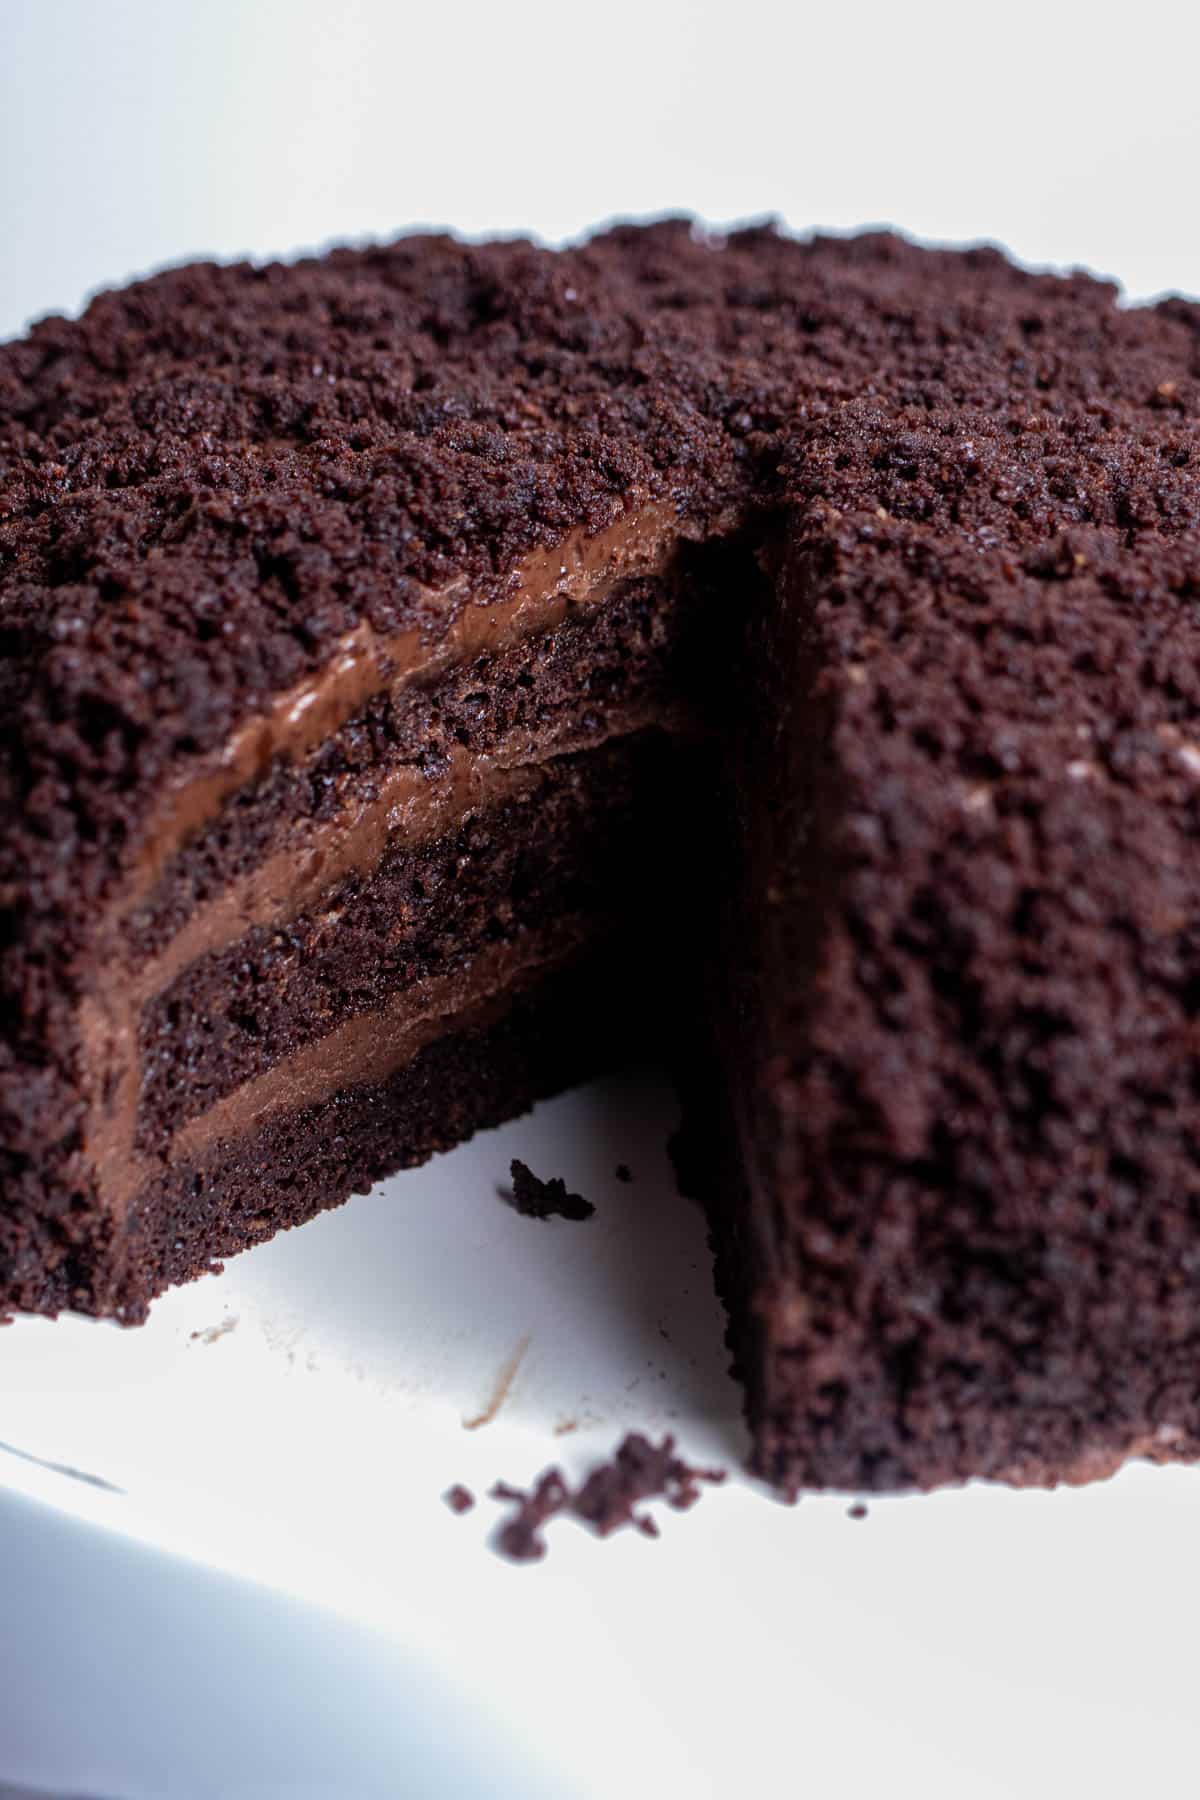
Chocolate cake can take on many forms, from yellow cake with chocolate frosting, to devil’s food chocolate cake, to more famous cakes like German’s chocolate cake or Black Forest cake. Brooklyn blackout chocolate cake is unique in that it is covered with cake crumbles and the “frosting” is closer to pudding than buttercream.
The cake itself is a rich and almost fudgy version of devil’s food cake, while the frosting is even more unique. Blackout cake uses a frosting that falls somewhere between a thick chocolate pudding and a thin ganache. Combining these two layers creates a cake that’s loaded in chocolate flavor but not as heavy or as dense as you would expect.
While making this cake isn’t difficult, working with this type of frosting can be a little more tricky than typical frostings. Be sure to give the pudding-like frosting plenty of time to set in the refrigerator, making it the day before if you need to. If it feels like it’s getting too loose while making the cake, don’t be afraid to place the whole cake in the fridge as well for a bit.

📜 Origins
Brooklyn blackout cake has a rich history in New York City and was created by German immigrants. In 1898, German baker and immigrant George Ebinger opened his own bakery on Flatbrush Avenue in Brooklyn, NY. The business remained in the family and eventually grew to more than 50 locations throughout New York until it finally closed its doors for good in 1972. Among the over 200 recipes Ebinger’s sold, their blackout cake remains one of the most well-known and still talked about confections.
When they started selling this chocolate cake isn’t quite known, but it may have originally been known as a “chocolate fudge cake”. The cake eventually got its name as a way to honor and remember the blackout drills to protect the Brooklyn Naval Yard during World War II. Starting in 1942 and continuing until the end of the war, blackout drills asked for all lights in the city to be turned off and windows shaded so that enemy planes wouldn’t be able to see our ships leaving the naval yard.
The name stuck until the stores closed in 1972 and is still used to this day on the various copycat recipes, though usually simplified to “blackout cake”. Unfortunately, the family has never revealed the true recipe for their Brooklyn blackout cake, so all we can do for now is try and emulate this once crazy popular cake.
🥘 Ingredients
We’ll go through two sets of ingredients here, first what is needed to make the pudding frosting, and then what is needed to make the cake itself. You’ll use two different kinds of chocolate for the pudding vs the cake also.
For the Pudding:

Milk & Cream – Because of the different levels of fat content, you’ll want to mix both whole milk and heavy cream when making the pudding.
Sugar – I like to mix 1 cup of white and a ¼ cup of brown sugar here, but you could also use just white granulated sugar instead.
Cornstarch – You’ll need a whole ¼ cup of cornstarch here. This is what the pudding relies on to thicken enough to be used as a frosting.
Chocolate – Use a 4oz bar of unsweetened baking chocolate here. The sugar will sweeten the pudding, so you don’t need to use chocolate with added sugar. I also add a ¼ cup of Dutch-processed cocoa powder, but that’s optional.
Vanilla – Just a teaspoon to give the pudding a more balanced flavor.
For the Chocolate Cake:

Flour – You could use cake flour here, but with the amount of liquid in the batter, I prefer using regular all-purpose flour for this recipe.
Leaveners – Use a good amount of baking powder here, with a bit of baking soda as well.
Butter – Use a ½ cup, or 1 stick, of unsalted butter.
Chocolate – For the cake, use Dutch-processed cocoa powder. For even darker, true “blackout” results, look for black cocoa powder instead. Black cocoa powder can be difficult to find in most grocery stores, so you may need to search online for it from the provided link.
Sugar – Again, a mixture of both white and brown sugar gives the best taste in my opinion.
Milk – Buttermilk works well here, but since I already had whole milk for the pudding, I use that in the cake as well. Bring to room temperature.
Sour Cream – I like to use sour cream here to help keep the cake moist. It also adds a slight tang and a bit of acidity that would have come from the buttermilk. Bring to room temperature for easier mixing.
Eggs – Use two large eggs at room temperature.
Vanilla – Again, a teaspoon of vanilla extract helps to balance the flavors.
🔪 How to Make
Because the pudding takes a long time to set fully, make the pudding first. It will need at minimum 4-6 hours in the refrigerator, so either start that early, or make it the day before you plan on serving the cake.
For the Pudding:

In a large saucepan, pour in the milk, cream, salt, cornstarch, and both sugars. Set over medium heat and whisk until the sugar has dissolved. Break or chop the chocolate into pieces and add to the saucepan. Whisk constantly until the chocolate has fully melted and the mixture begins to bubble, about 3-5 minutes. You should feel it starting to thicken.

Remove from the heat and whisk in the vanilla extract. Pour into a non-reactive bowl and allow to cool to room temperature. Cover with plastic wrap, placing the wrap directly onto the surface of the pudding, and refrigerate until set, at least 4-6 hours or overnight.
For the Cake:
Place oven rack in the middle position and preheat your oven to 325°F / 165°C. Grease two 8-inch round cake pans, add a parchment round and grease that, and then dust with cocoa powder. Alternatively, use a floured baking spray.

In a mixing bowl, add the flour, baking powder, baking soda, and salt. Whisk to combine and set aside.
Melt the butter in a heat-proof container like a liquid measuring cup and add the cocoa powder while still hot. Mix until the mixture turns fudgy and pour into a large mixing bowl.
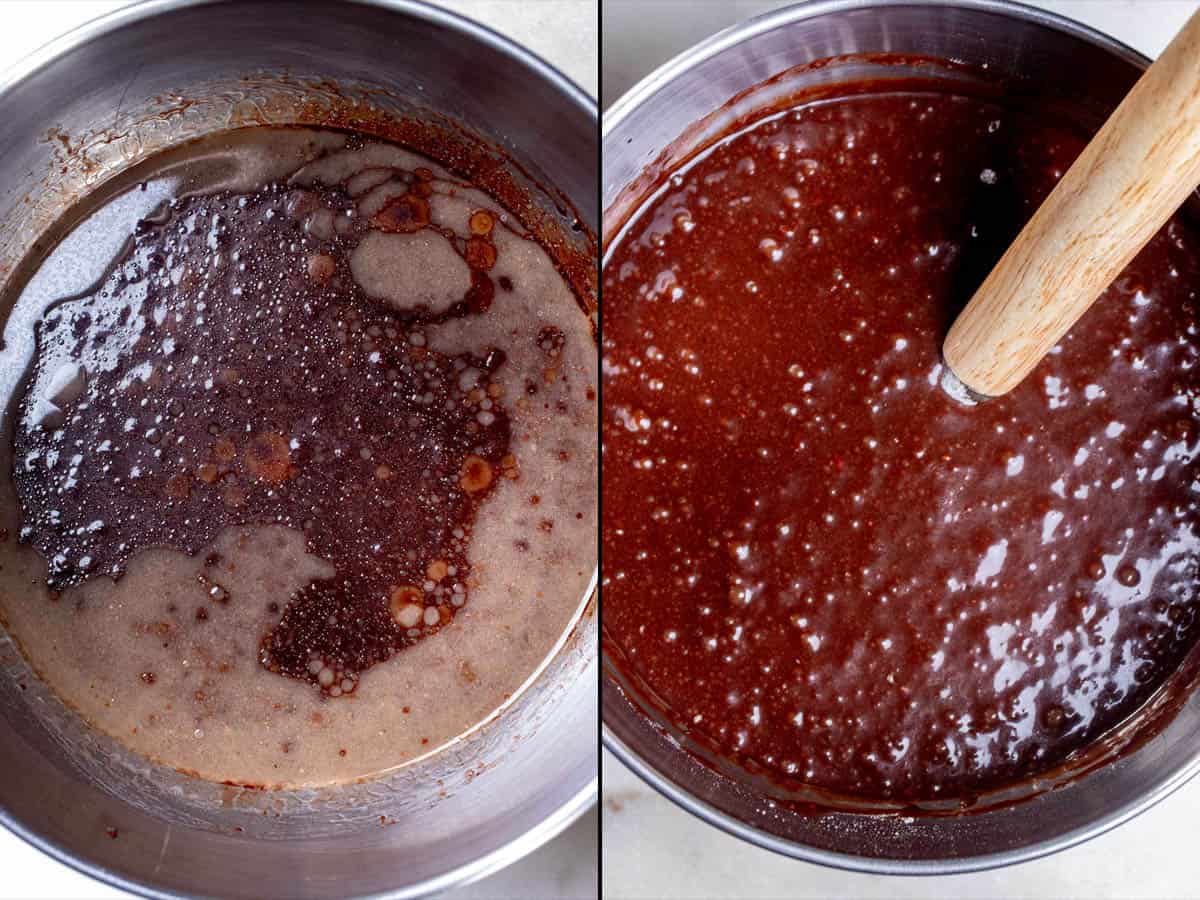
Pour in the milk, both sugars, and sour cream and whisk until everything is combined. Whisk in the eggs, one at a time, followed by the vanilla until the mixture is smooth and combined. Add the dry ingredients into the wet mixture, about ⅓ at a time, until fully combined.

Pour the batter evenly into the prepared cake pans and then bake for 30-35 minutes. A toothpick inserted should come out mostly clean when they’re done. Remove from the oven and let cool in the cake pans at least 5 minutes, then move to a cooling rack. Allow to cool completely before frosting, at least 1-2 hours.
For Assembly:

Once cooled, use a large, serrated knife or cake leveler to slice both cakes in half horizontally. Take one cake layer and break into small crumbles, either by hand or in a food processor. On a cake stand or turntable, add some strips of parchment or wax paper and place one cake layer on top.
Add 1 cup of frosting on top and smooth it out with an offset spatula, bringing it all the way to the edge and leveling it out. Place the next cake layer on top and press down lightly. Add another cup of frosting and repeat. Place the final cake layer on top and cover the tops and sides evenly with the remaining frosting.
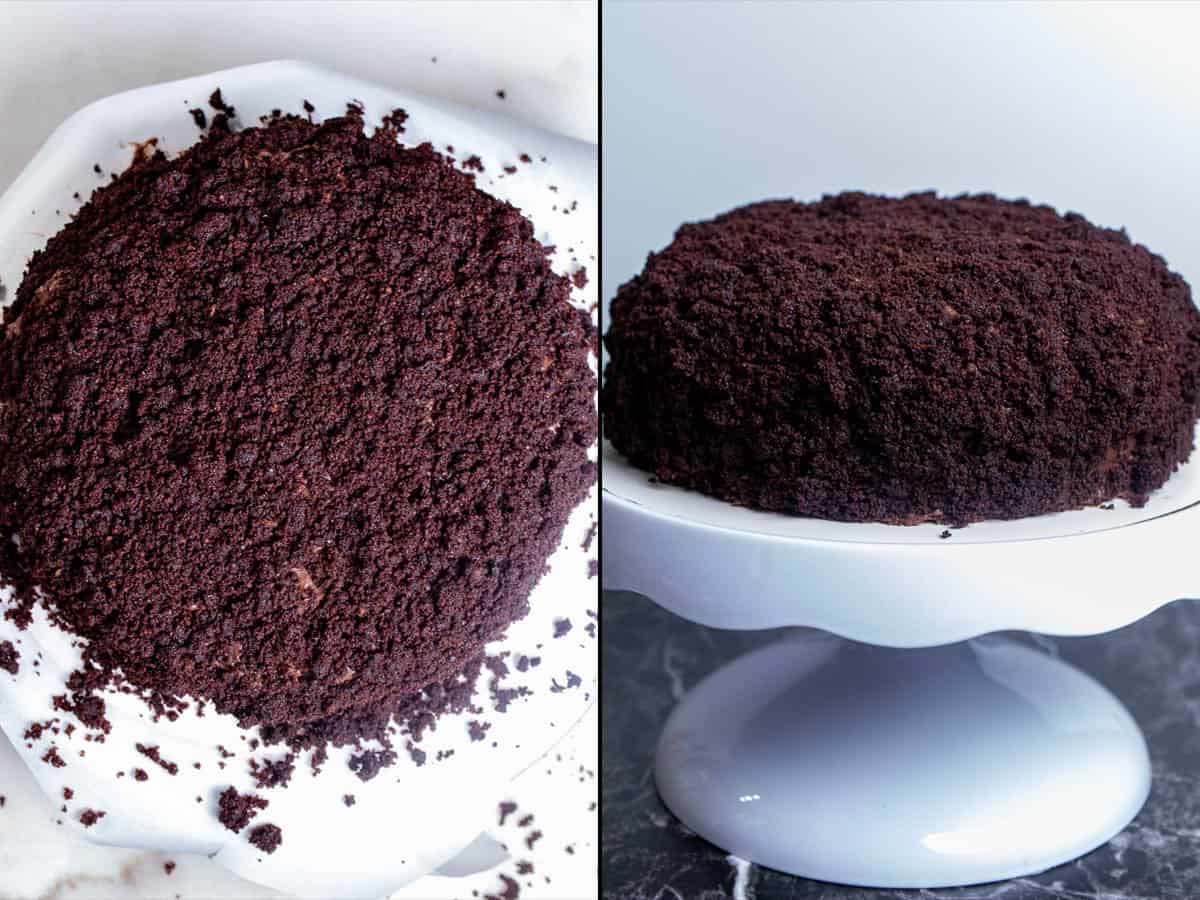
Sprinkle the cake crumbs over the top and sides and press lightly into the frosting so they stick. This can be messy, but you can use the parchment strips to press fallen crumbles back into the cake.
Refrigerate at least 20 minutes before serving. Leftovers can be refrigerated for 2-3 days.
📖 Variations
While the crumb coating and pudding-like frosting are what makes Ebinger’s Brooklyn blackout cake so unique, there are several variations commonly and popularly used.
Chocolate Frosting – If you cut the pudding ingredients in half, you can use that to frost between the cake layers. Then use a more traditional chocolate frosting to coat the outside and top of the cake with instead.
Chocolate Stout – For a different taste, replace the milk in the cake with 1 cup of a stout beer like Guinness, or a chocolate stout if you can find one. Increase the sour cream from ¾ cup to 1 cup.
Black Cocoa – As mentioned in the ingredients, for a truly dark blackout cake that lives up to the name, replace the regular Dutch-processed cocoa powder with black cocoa powder.

🍽 Equipment
Most of the equipment used to make Brooklyn blackout chocolate cake is standard kitchen equipment, but I do want to mention two things I highly recommend.
Non-Reactive Bowl – Because the pudding needs a long time to set, I would use almost anything besides a metal mixing bowl. I prefer a glass mixing bowl here, so that it doesn’t affect the flavor of the pudding.
8-inch Round Cake Pans – There’s a ton of options for cake pans out there, but from experience I prefer and recommend these 8-inch round cake pans from Fat Daddio’s. They’re also 3-inches deep, so they’re perfect for making layer cakes when you want a large rise and plan to cut the cakes in half.
❄️How to Store
With the ingredients used and the pudding frosting layers, this cake needs to be refrigerated. It should last 2-3 days in the refrigerator.
The pudding layer does not work well when frozen. For longer storage or to make ahead of time, you can make the cake layers and freeze them for up to 2 months. You can then make the pudding frosting and refrigerate overnight while thawing the cake layers in the refrigerator overnight as well.
📋 Recipe
Brooklyn Blackout Chocolate Cake
Ingredients
For the Pudding:
- 2 cups heavy cream
- 1 cup whole milk
- 1 cup white granulated sugar
- ¼ cup brown sugar, packed
- ¼ cup cornstarch
- ½ teaspoon salt
- 4 ounces unsweetened baking chocolate, broken or chopped
- ¼ cup Dutch-processed cocoa powder
- 1 teaspoon vanilla extract
For the Cake:
- 1 ½ cups all-purpose flour
- 2 teaspoons baking powder
- ½ teaspoon baking soda
- ½ teaspoon salt
- ½ cup unsalted butter, melted
- ¾ cup Dutch-processed cocoa powder
- ¾ cup whole milk, at room temperature
- 1 cup white granulated sugar
- 1 cup brown sugar, packed
- ¾ cup full-fat sour cream, at room temperature
- 2 large eggs, at room temperature
- 1 teaspoon vanilla extract
Directions
- Because the pudding takes a long time to set fully, make the pudding first. It will need at minimum 4-6 hours in the refrigerator, so either start that early, or make it the day before you plan on serving the cake.
For the Pudding:
- In a large saucepan, pour in 1 cup whole milk, 1 cup heavy cream, ½ teaspoon salt, ¼ cup cornstarch, 1 cup granulated sugar, and ¼ cup brown sugar. Set over medium heat and whisk until the sugar has dissolved. Break or chop the 4oz unsweetened baking chocolate into pieces and add to the saucepan. Whisk constantly until the chocolate has fully melted and the mixture begins to bubble, about 3-5 minutes. You should feel it starting to thicken.
- Remove from the heat and whisk in 1 teaspoon vanilla extract. Pour into a non-reactive bowl and allow to cool to room temperature. Cover with plastic wrap, placing the wrap directly onto the surface of the pudding, and refrigerate until set, at least 4-6 hours or overnight.
For the Cake:
- Place oven rack in the middle position and preheat your oven to 325°F / 165°C. Grease two 8-inch round cake pans, add a parchment round and grease that, and then dust with cocoa powder. Alternatively, use a floured baking spray.
- In a mixing bowl, add 1 ½ cups all-purpose flour, 2 teaspoons baking powder, ½ teaspoon baking soda, and ½ teaspoon salt. Whisk to combine and set aside.
- Melt ½ cup unsalted butter in a heat-proof container like a liquid measuring cup and add ¾ cup Dutch-processed cocoa powder while still hot. Mix until the mixture turns fudgy and pour into a large mixing bowl. Pour in ¾ cup whole milk, 1 cup white and 1 cup brown sugars, and ¾ cup sour cream and whisk until everything is combined. Whisk in the eggs, one at a time, followed by 1 teaspoon vanilla until the mixture is smooth and combined.
- Add the dry ingredients into the wet mixture, about ⅓ at a time, until fully combined. Pour the batter evenly into the prepared cake pans and then bake for 30-35 minutes. A toothpick inserted should come out mostly clean when they’re done. Remove from the oven and let cool in the cake pans at least 5 minutes, then move to a cooling rack. Allow to cool completely before frosting, at least 1-2 hours.
For Assembly:
- Once cooled, use a large, serrated knife or cake leveler to slice both cakes in half horizontally. Take one cake layer and break into small crumbles, either by hand or in a food processor. On a cake stand or turntable, add some strips of parchment or wax paper and place one cake layer on top. Add 1 cup of frosting on top and smooth it out with an offset spatula, bringing it all the way to the edge and leveling it out. Place the next cake layer on top and press down lightly. Add another cup of frosting and repeat. Place the final cake layer on top and cover the tops and sides evenly with the remaining frosting. Sprinkle the cake crumbs over the top and sides and press lightly into the frosting so they stick.
- Refrigerate at least 20 minutes before serving. Leftovers can be refrigerated for 2-3 days.


Comments
No Comments