

Traditional Irish barmbrack has a rich history and is a great tasting, sweetened bread studded with dried and candied fruits. While it can be made at any time, it’s most famous for its connection to Halloween and the fortunes or misfortunes it may predict.
Irish barmbrack has a deep and interesting history, mostly associated with Halloween, or the original Celtic holiday, Samhain. At its core, barmbrack is a yeasted bread with various mix-ins, typically dried fruits like raisins and citrus zest or mixed peel and traditionally had small objects placed inside that would foretell the future for the recipient.
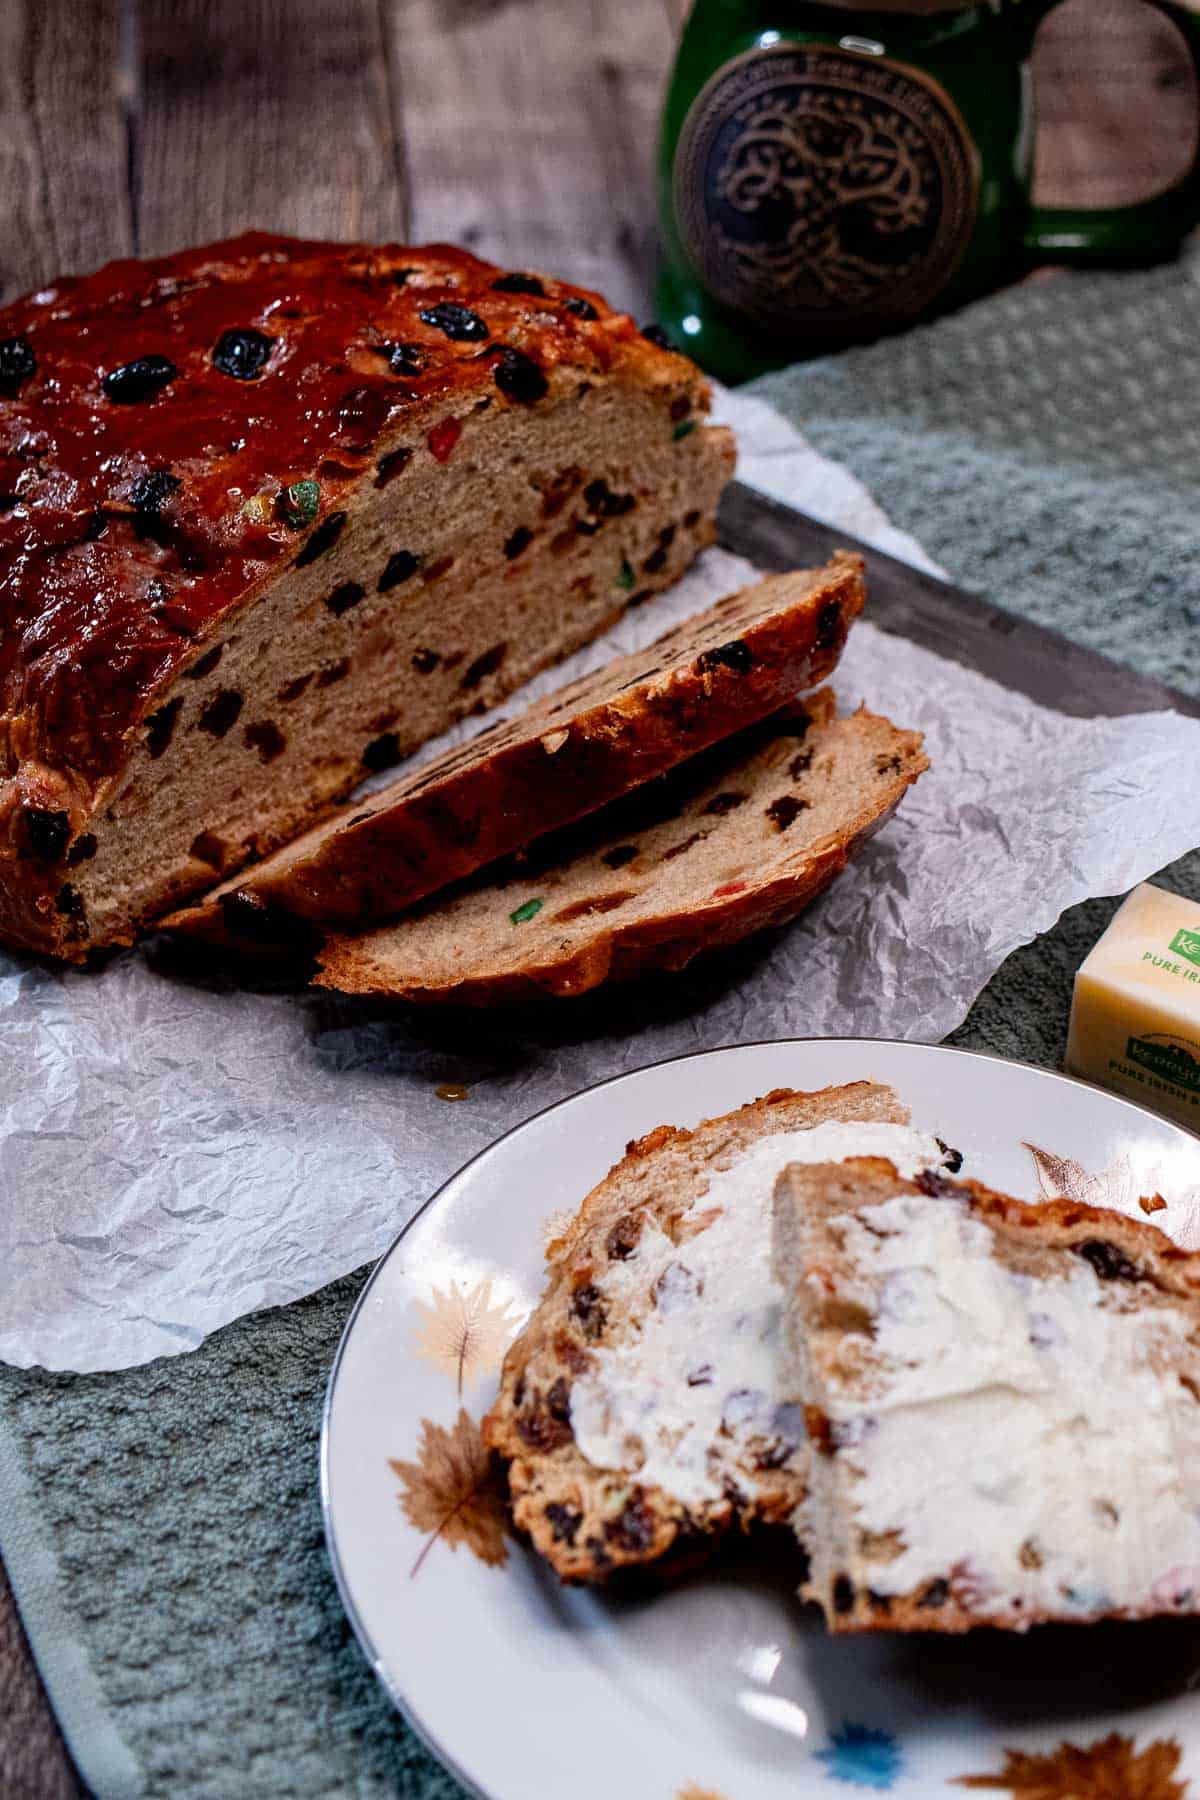
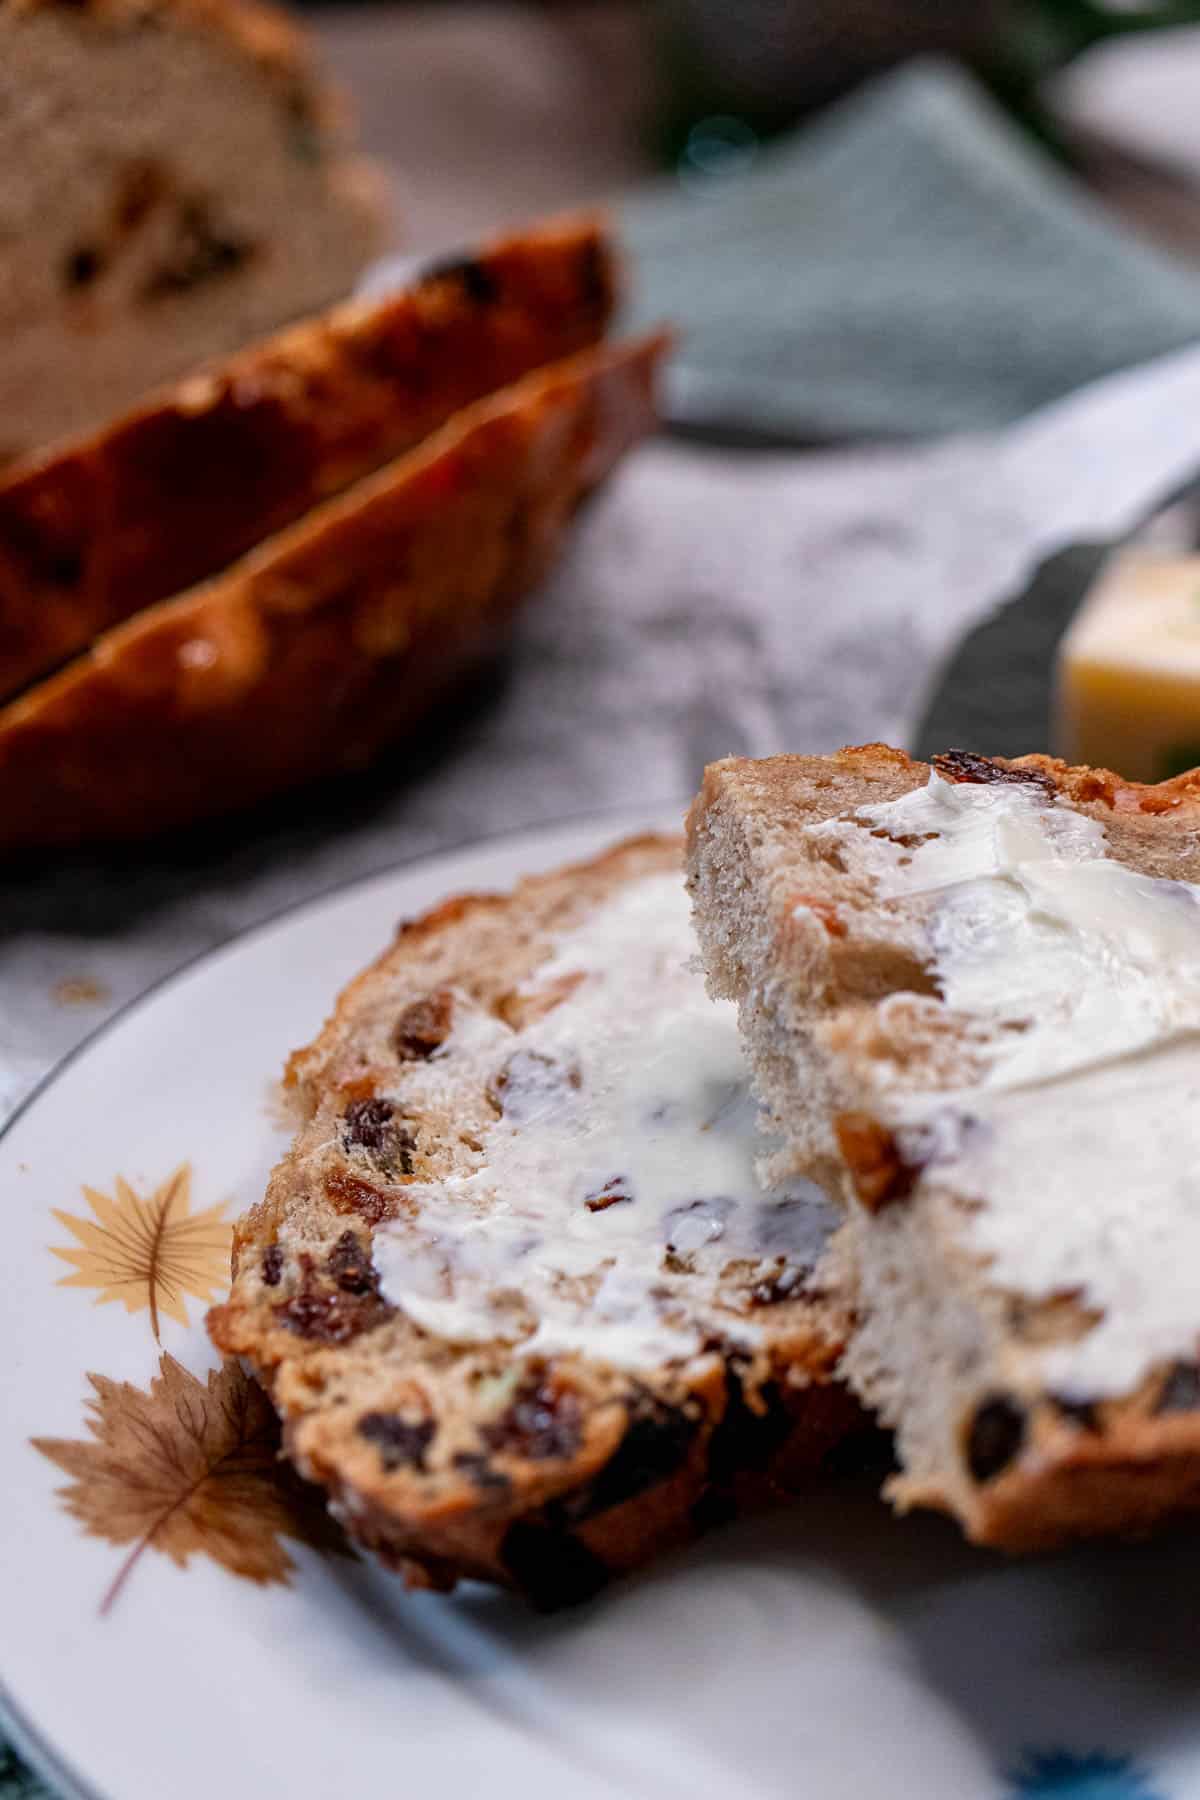
Normally, I am not a fan of fruitcakes, but Irish barmbrack is like an enriched brioche bread that had a love child with a fruitcake. The result is so much more than the sum of its parts. Once you take a slice and toast it and slather it with some good Irish butter, the flavor transcends any fruitcake you have ever eaten, trust me.
While I love a good traditional Irish bread, I’ve mostly posted about things like an easy, white, soda bread, and an awesome Guinness brown bread. This is the first Irish bread I’ve made and discussed that utilizes yeast instead.
Jump to:
🥘 Ingredients for an Irish Barmbrack
Most of the ingredients for barmbrack are the same as for brioche bread, so you’ll probably have them on hand already. You may need to grab some of the fillings however, like the dried and candied fruits.
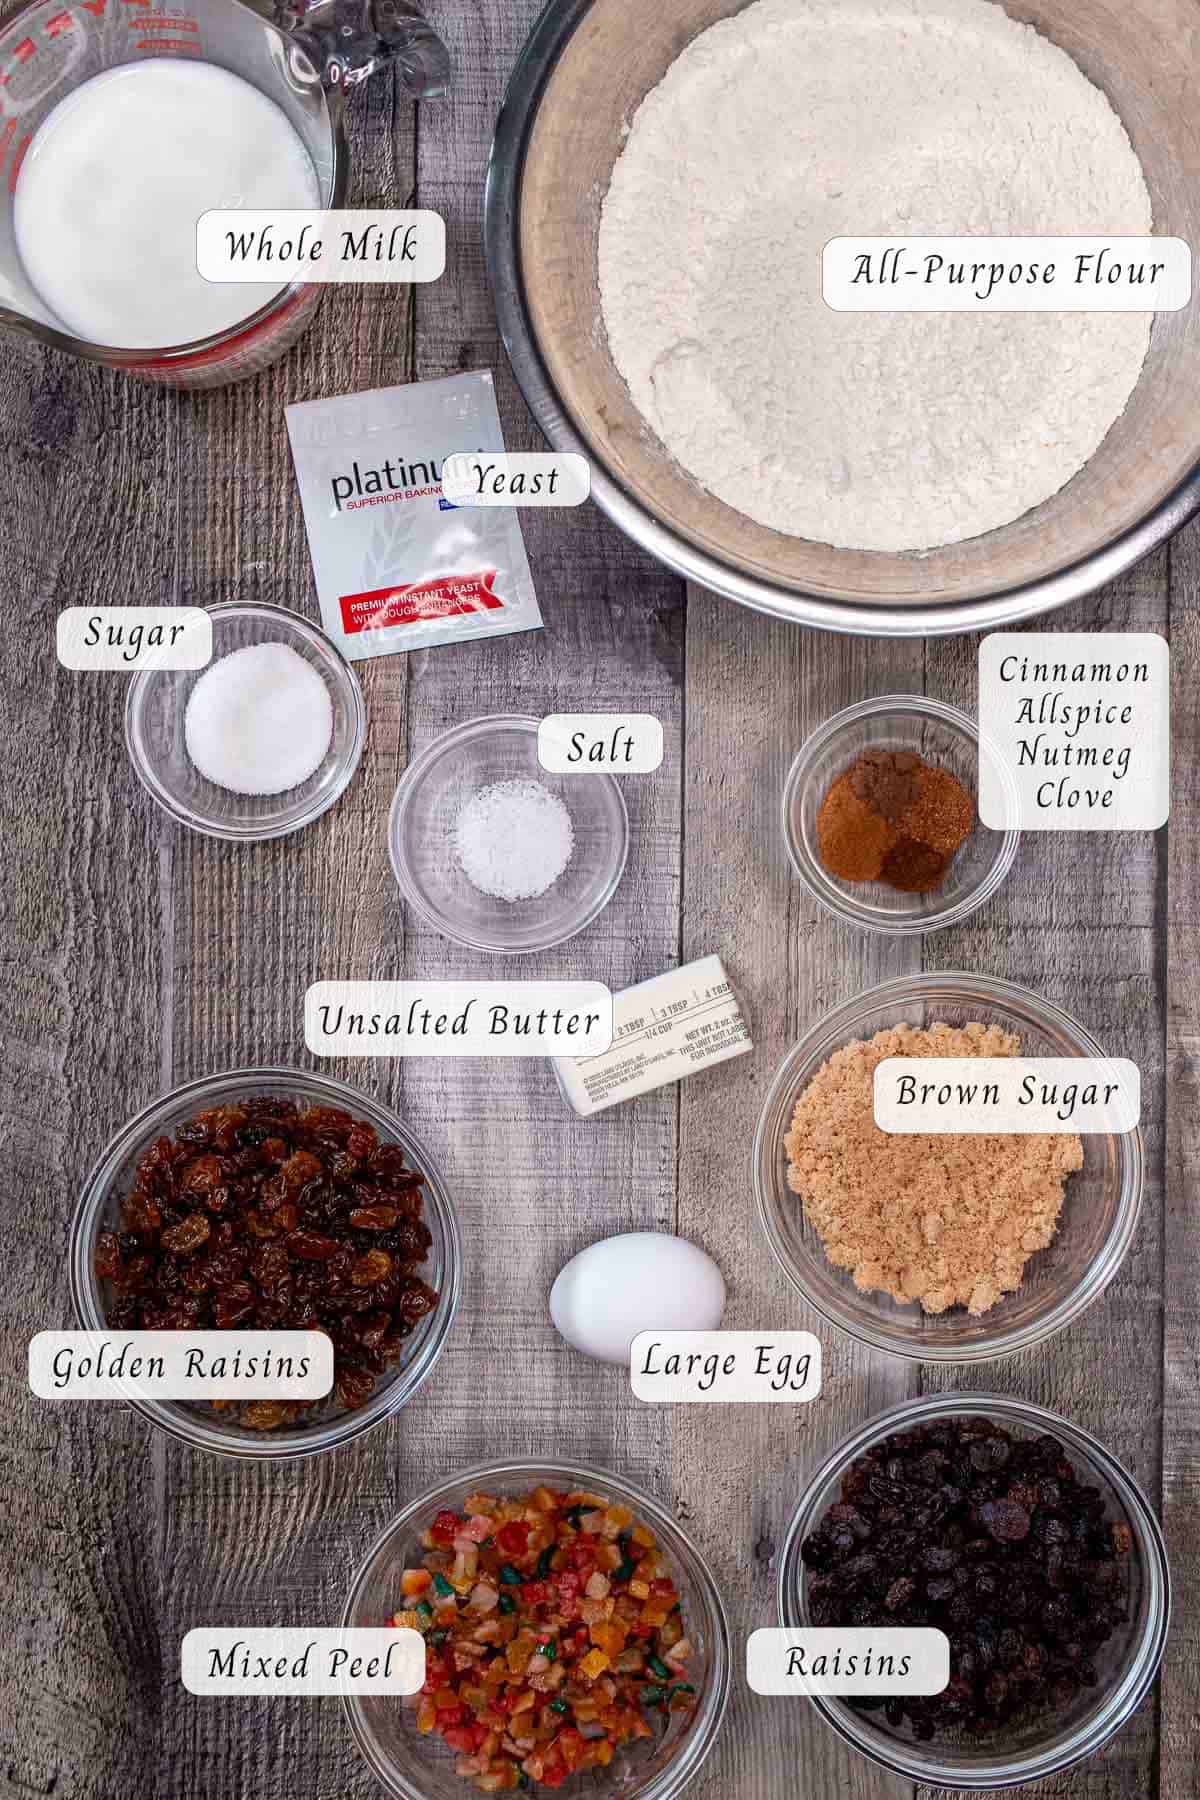
Yeast – You can use either a packet of instant or active dry yeast here. As always, however, I recommend blooming it first to make sure that it is still good before wasting a lot of time and ingredients.
Milk – Instead of water, bloom the yeast in warm whole milk for a richer tasting bread. I divide the amount used here since you may not need all the milk.
Sugar – For this recipe I use a little bit of white sugar in the milk to help feed the yeast while blooming but then use a little light brown sugar in the bread itself.
Flour – All-purpose flour is fine here for the brack. You could also use bread flour if you wish, or a combination of both.
Mixed Spice – In Ireland, and other areas throughout the UK, they use a blend of spices called “mixed spice”. Since you’re not likely to find this outside of the UK, I use a combination of spices here to be close to mixed spice. The closest substitution in the US would be pumpkin pie spice, which is similar but not quite the same.
Butter – Unsalted butter works fine here, but if you can get it, look for an Irish butter like Kerrygold.
Egg – You only need 1 large egg here.
Dried Fruit – The most common additions to barmbrack are raisins and sultanas (golden raisins). You could also add other dried fruits if you wish, like currants, dried cranberries, dried blueberries, etc. Whatever mixture you prefer to use, try and keep the total mix-ins to roughly 3-3 ½ cups.
Mixed Peel – In Europe they have what is called “mixed peel” which is typically a candied mixture of lemon and orange peels, sometimes with other fruits added as well. In the US the closest substitute might be sold as candied fruit peel, holiday fruit, or fruitcake mix.
This can be difficult to find outside of the holiday season; however, you can make your own candied citrus peel or just use some lemon and orange zest instead (not ¾ cup worth though). Not as traditional, but you can also add some chopped glacé cherries if you wish. Again, try to keep the total mix-ins to roughly 3-3 ½ cups.
📜 What is Barmbrack?
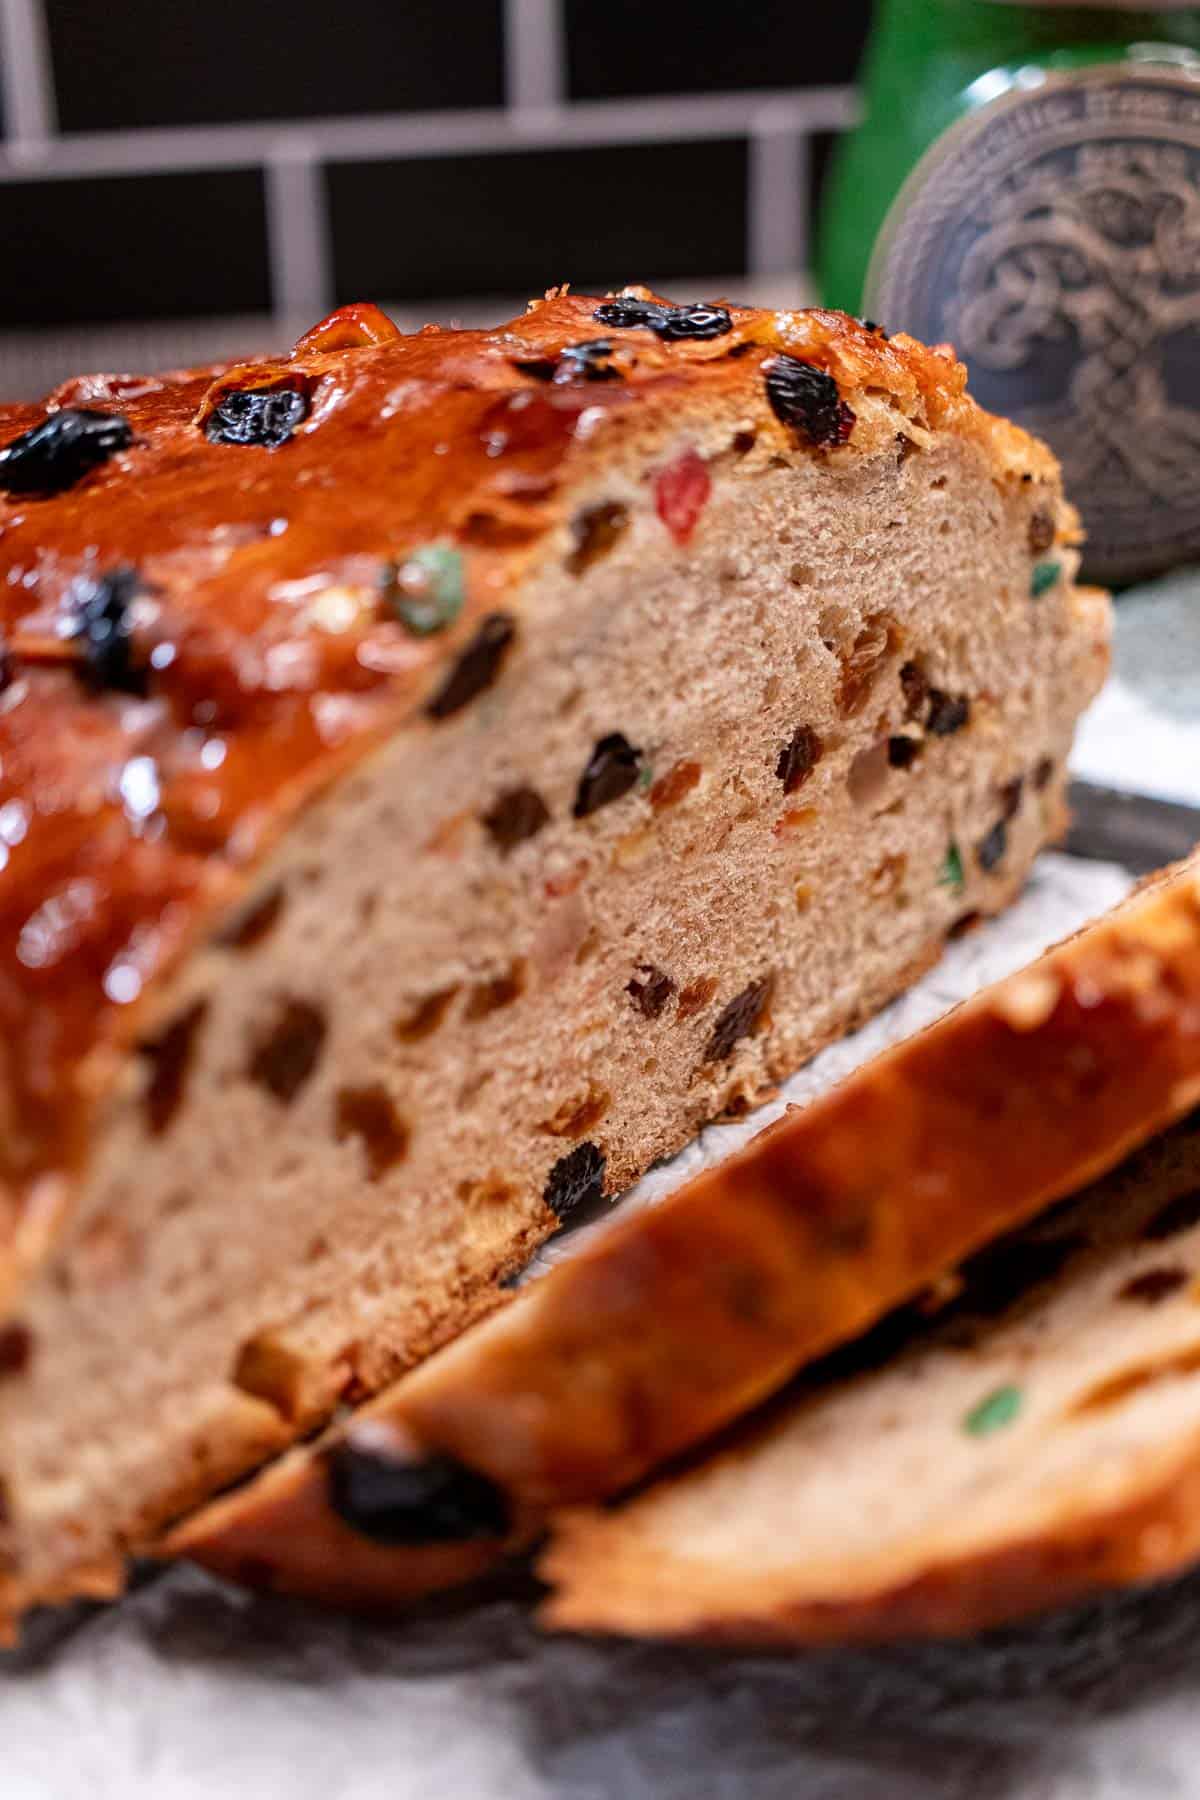
Irish barmbrack is a traditional, sweetened bread with historical roots before modern ovens and baking soda became commonplace. Also known as báirín breac (baw-reen brack), these words translate to “little loaf” and “speckled”, so the name means “little speckled loaf”, speckled because of the dried fruits inside of it.
Meanwhile, barm refers to the frothy yeast that forms on top of fermented ales. Historically, many homes may not have had access to fresh yeast, but people could go to a brewery and get this yeast. They would take it home and feed it some flour occasionally and keep it out to make bread when needed, like an old school sourdough starter.
This is why traditional barmbracks were made with yeast. I believe the typical round loaf also comes from the old Irish baking tradition of using a bastible. These were round, flat-bottomed cast-iron pots used to cook over open fires. They also had a lid where you could place hot coals to evenly heat from the top and bottom like a modern Dutch oven.
These days, many recipes for barmbrack are actually tea bracks. While similar, they are not the same. Traditional barmbracks are most associated with Halloween and use yeast as their rising agent. Tea bracks can be made anytime and utilize baking powder as their rising agent. These tea bracks usually soak the fruits in strong tea overnight as part of their distinct flavoring and are made in a loaf pan.
Nowadays even yeast leavened barmbracks typically mention soaking the fruits ahead of time. This adds a nice flavor, and if you’d like to do it, feel free. Brew enough tea to cover the dried and candied fruits, stronger than you would typically drink it, allow it to cool and then pour over your dried fruits and soak overnight. A couple of tablespoons of Irish whiskey can be added as well if you like. Be sure to strain and dry off the fruit some before adding to the dough.
🔪 How to Make Irish Barmbrack
Make the Dough
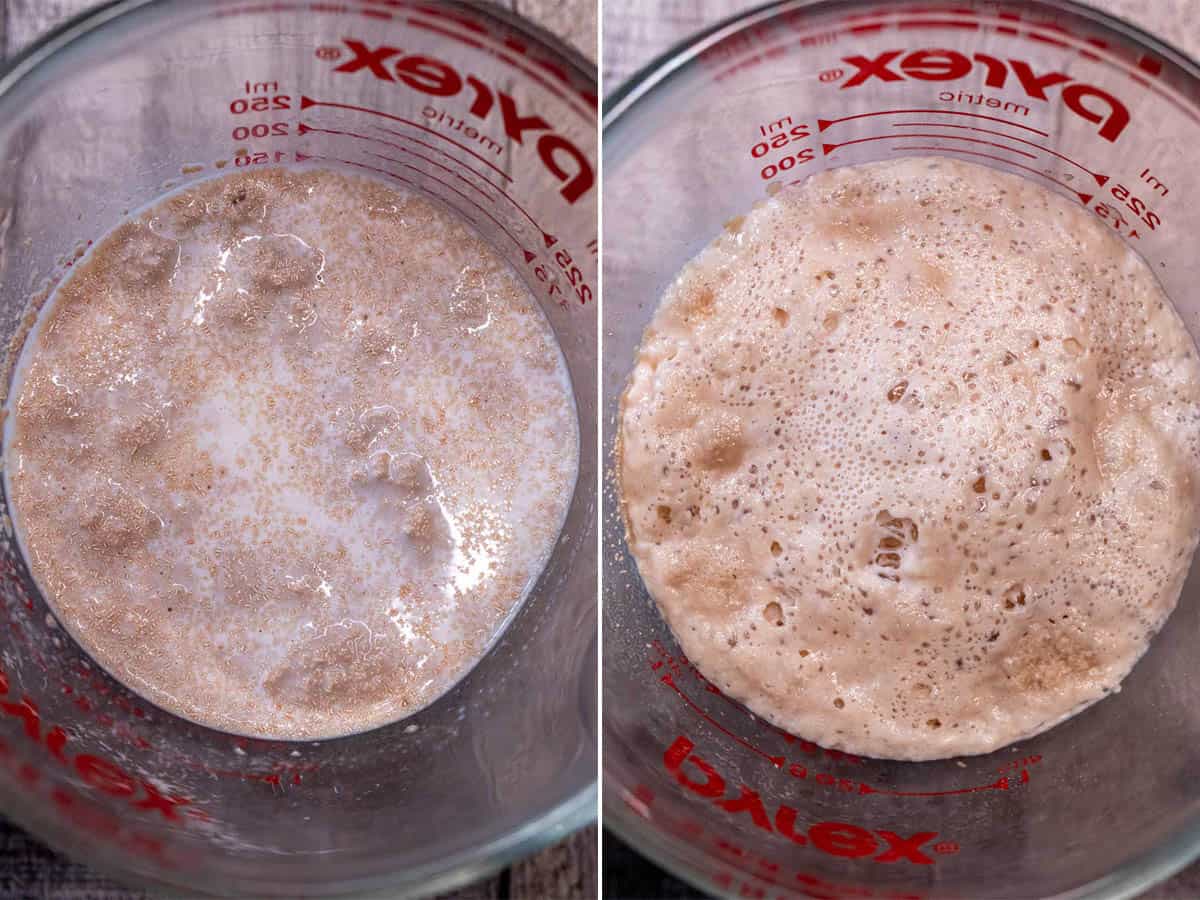
Start by heating the whole milk. It should be warm but not scalding hot, anywhere between 90-110°F (32-43°C) is fine. Pour a ½ cup into another container and stir in the white sugar and sprinkle the yeast on top of that ½ cup milk. Give it a quick stir and set it aside for about 10 minutes to bloom.
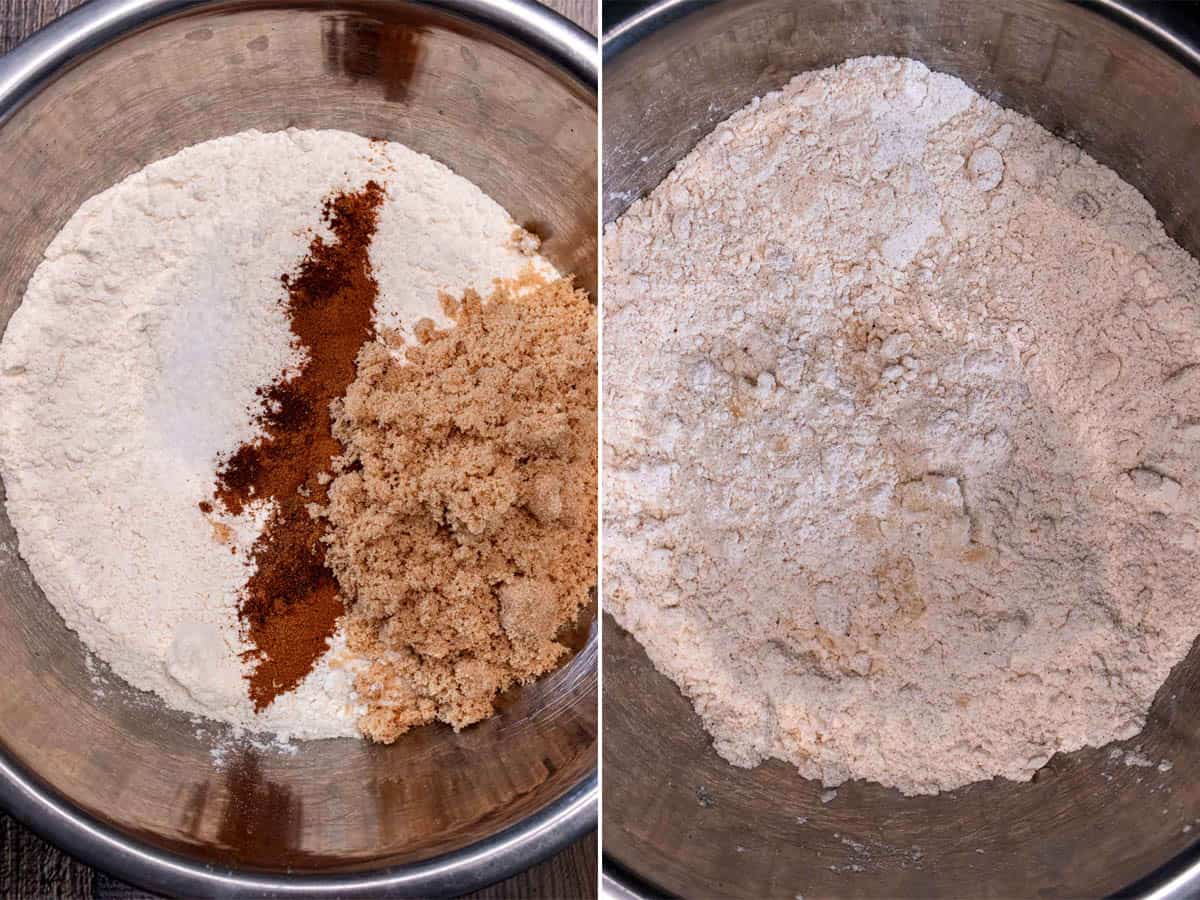
In the meantime, in a large mixing bowl add the flour, mixed spice, salt, and brown sugar and whisk together. Slice the softened butter into pieces and cut it into the flour mixture with a pastry blender or use your hands and rub it in until fully distributed.
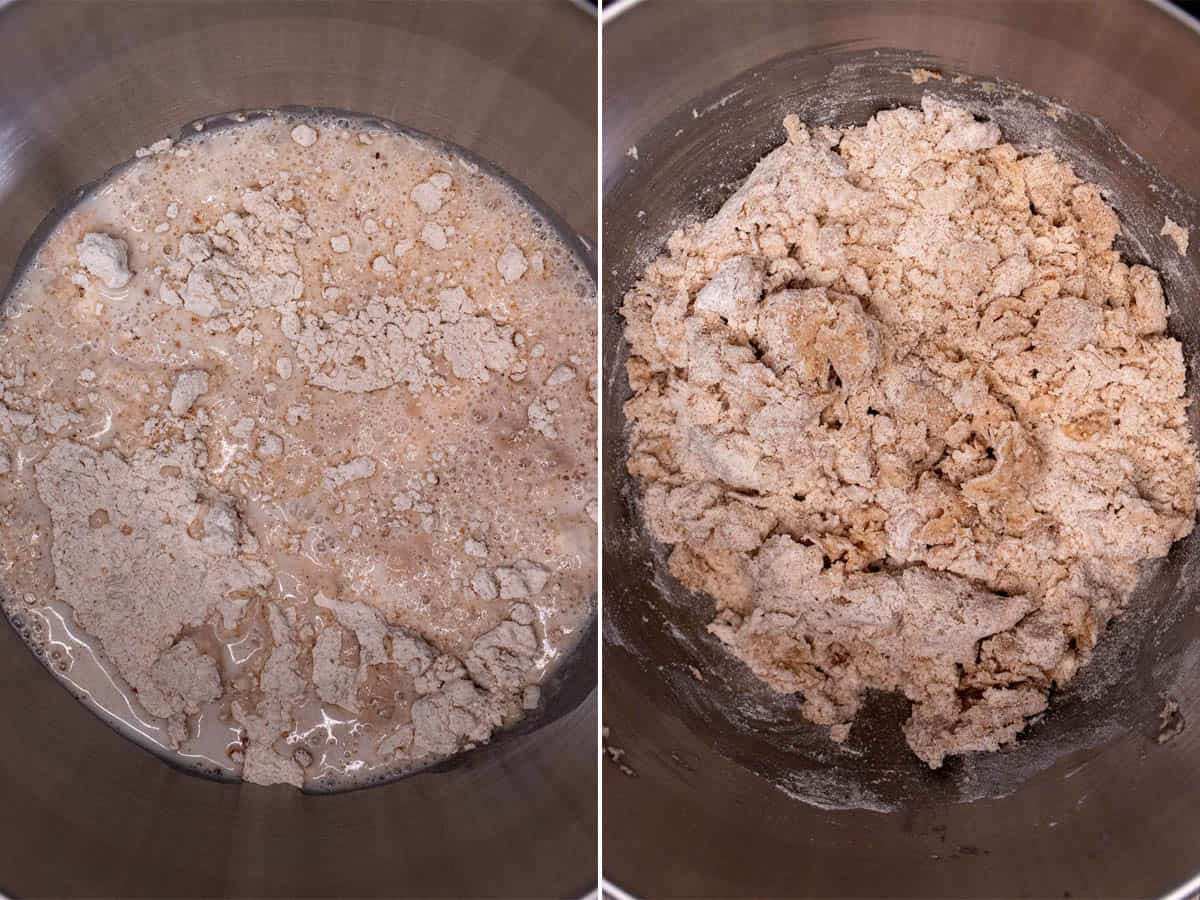
In the bowl of a stand mixer with the dough hook attachment, add the flour and butter mixture. Once the yeast has bloomed, add this as well. Mix at low speed until the flour has absorbed most of the liquid.
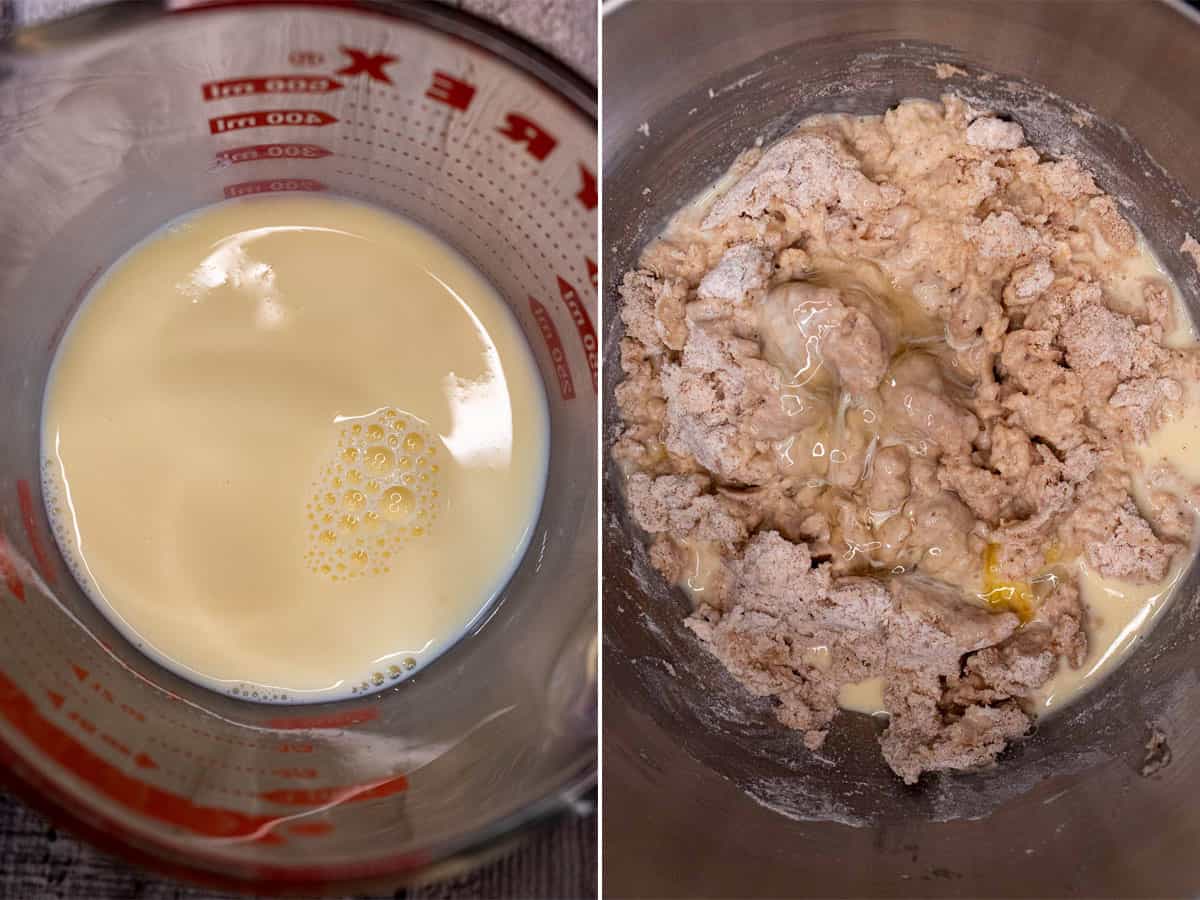
Finally, add the egg to another ½ cup of the whole milk (you should have a ¼ cup left now) and whisk together. Pour this into the dough mixture and mix at low speed until combined. Turn speed up just one level and allow it to knead the dough for at least 5-8 minutes.
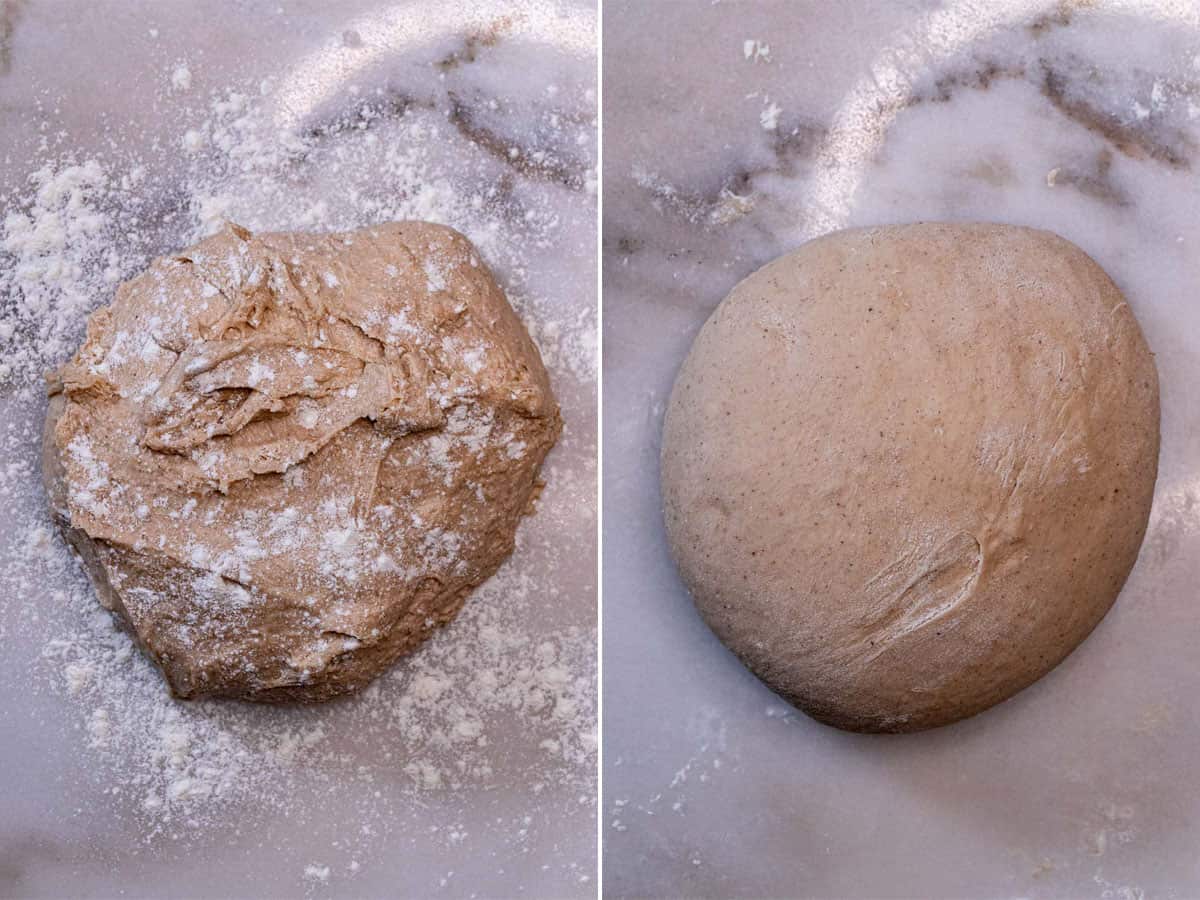
If the dough seems a little dry after the first 2-3 minutes, you can add more of the whole milk a teaspoon or so at a time. This is a fairly wet dough, so it won’t be perfectly smooth and elastic, but should be solid enough to hold its shape.
First & Second Rise
If needed, pour the dough onto a floured work surface and finish kneading it by hand for a minute or two. It should still be a bit sticky but not so wet it looks like a batter. Lightly oil a large mixing bowl and place inside. Cover with plastic wrap or a damp towel and allow it to rise until in a warm area doubled in size, at least 1 hour.
Once doubled in size, punch down the dough and pour onto a floured work surface, adding some flour on top of the dough as well.
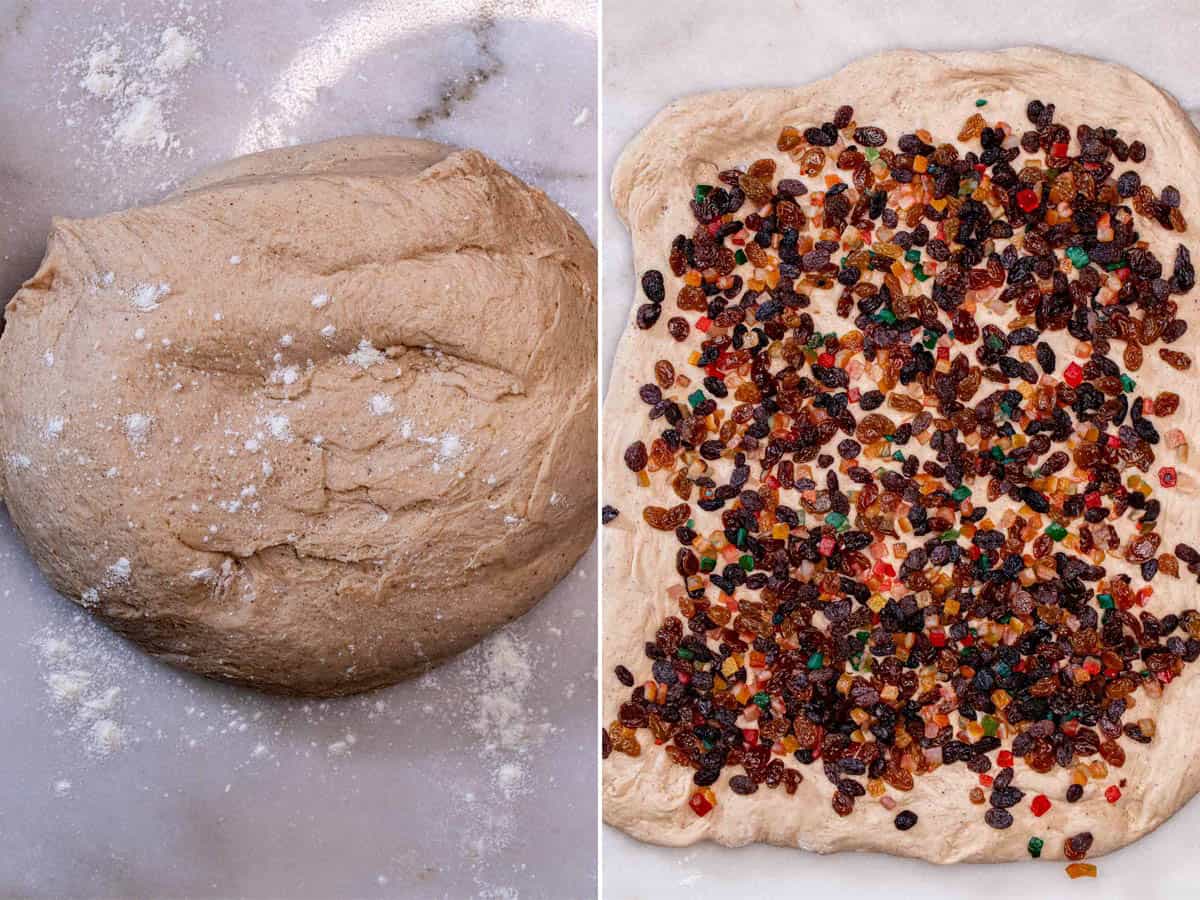
Gently stretch the dough out into a large rectangle and add all your dried fruits and mixed peels on top in an even layer.
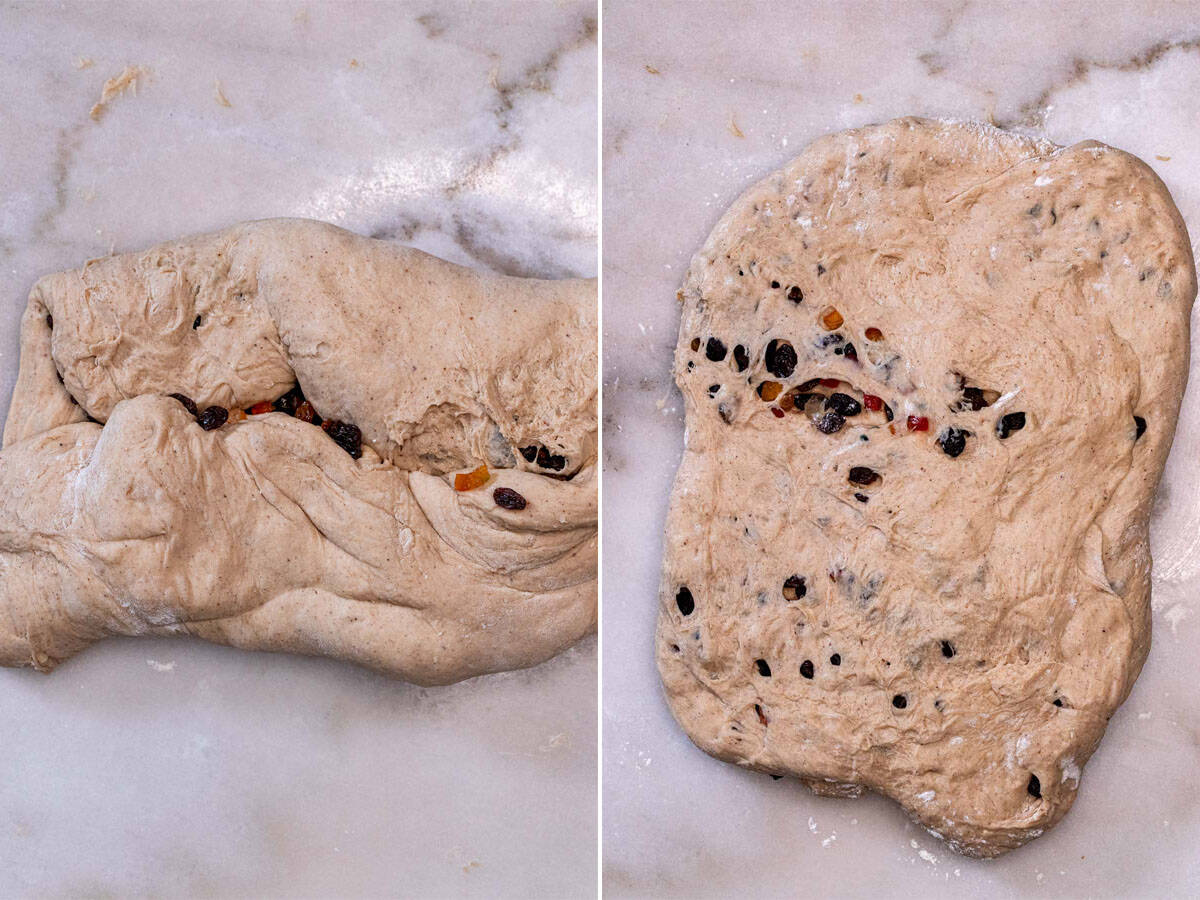
Fold the dough from one side into the middle, then the other side into the middle. Turn it 90 degrees and gently flatten back out and repeat this process 2-3 more times until the fruits are fully incorporated.
If you plan on adding any trinkets to the bread, push them into the bottom of the dough after shaping it but before placing it into the springform pan.
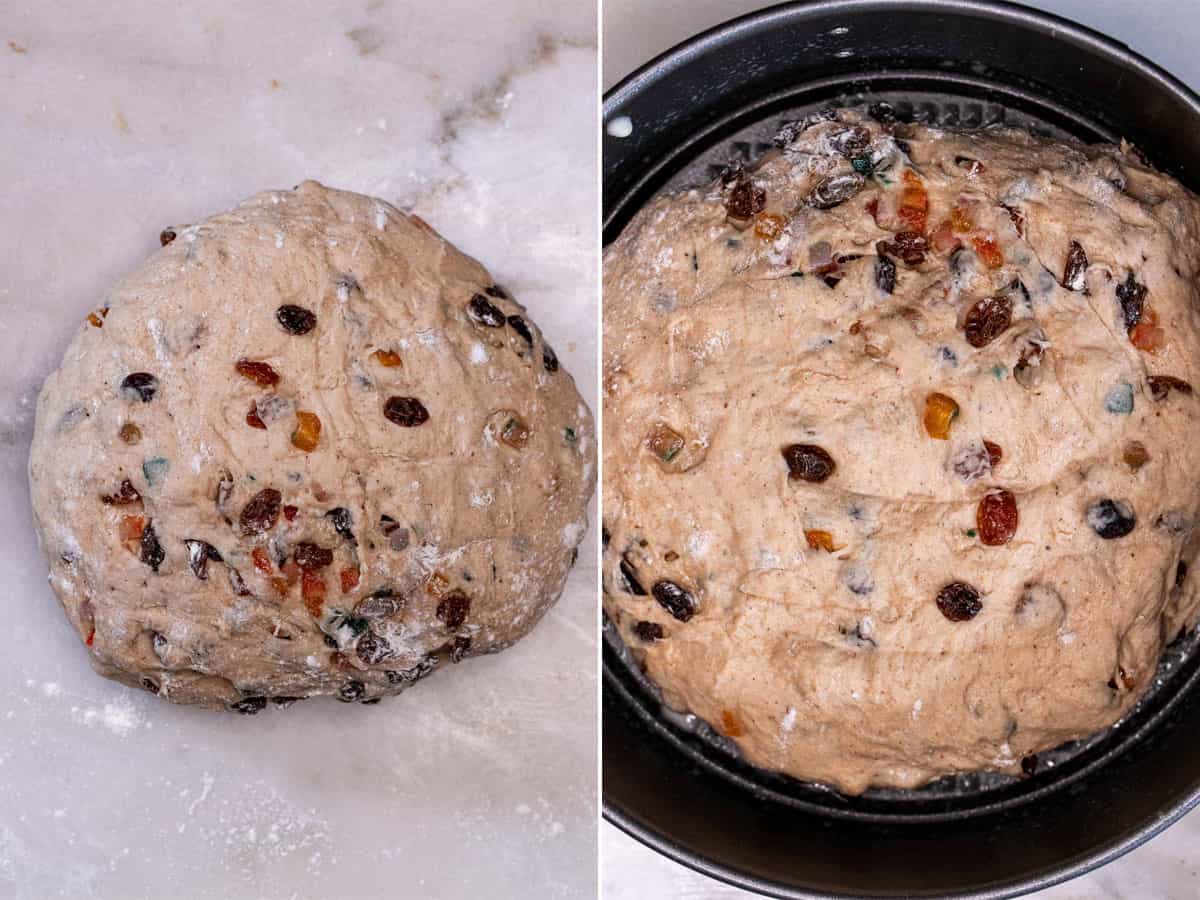
Prepare a 9” springform pan by greasing the sides and bottom with butter or a baking spray. Gently shape the dough into a large, round shape and transfer it into the springform pan. Press it down a bit and try to shape it to even fit the whole width of the pan. Cover again and let rise once more for another 45 minutes or so.
Baking & Serving
About half-way through the second rise, preheat your oven to 350°F / 180°C. Once risen, the dough should fill the pan and be poking just over the top of the pan. Place into the middle of the oven and cook until a toothpick comes out clean, roughly 1 hour.
The top should be fairly dark, but if you feel it’s browning too fast, place some foil over the top. Once it is finished baking, remove it from the oven and leave it in the pan until cool enough to handle.
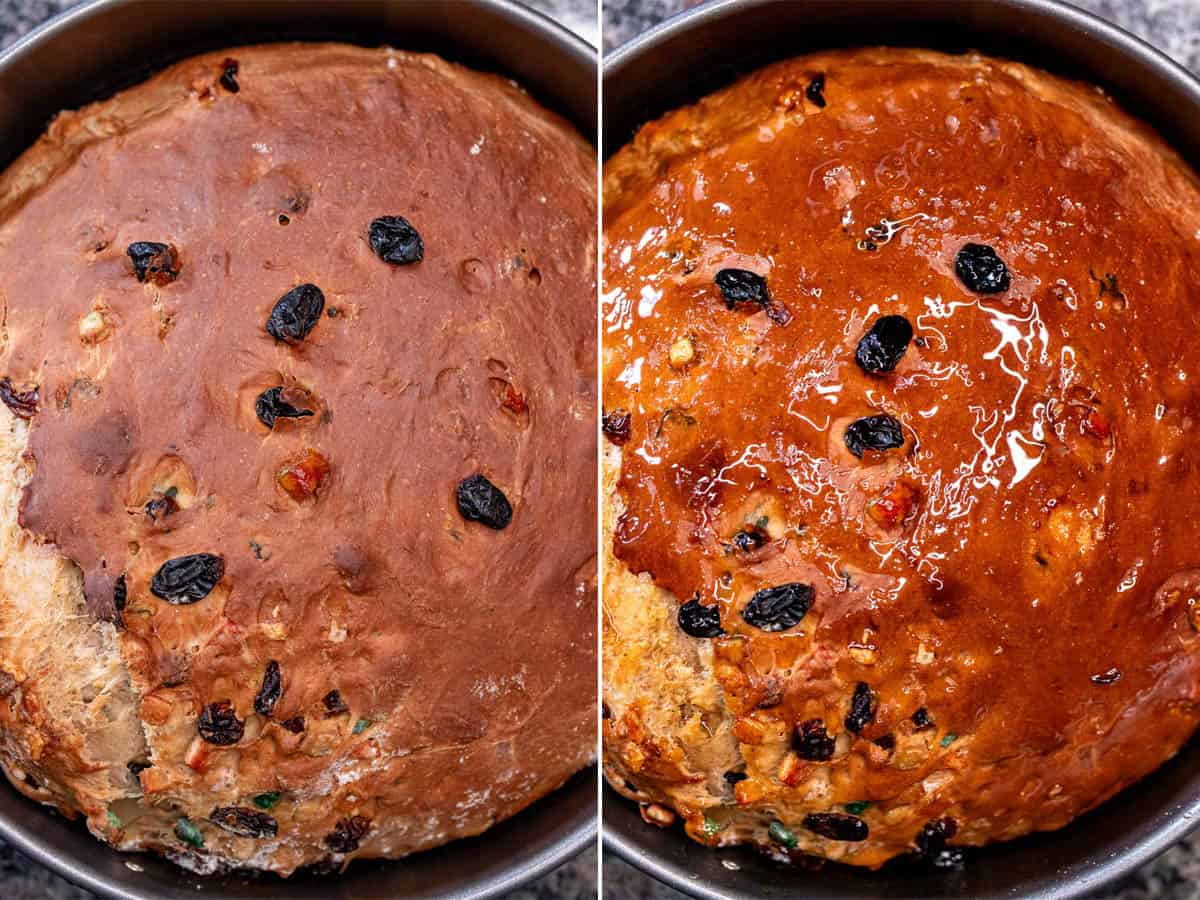
There are a couple of ways to top barmbrack. In this recipe I take 2-3 tablespoons of honey and place it into a heatproof bowl. Microwave on high for 15-20 seconds to make it thinner and easy to work with. As soon as you remove the barmbrack from the oven, brush the honey across the entire top. This gives it a nice sheen and sweetened flavor on top.
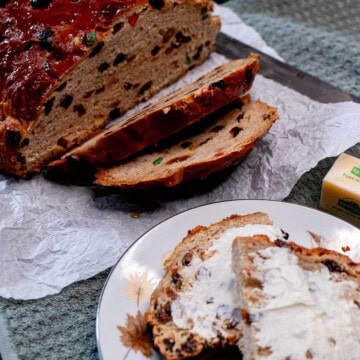
Once cool enough to handle, remove the barmbrack from the springform pan. You can make long slices across the width of the bread, or just cut it in half, turn it cut side down and make slices down towards the cut side. This gives you more manageable pieces. Serve warm with a good cup of tea or coffee.
For the best experience, however, let it cool completely and then toast slices and slather with some good Irish butter. If you do add trinkets, be certain to let everyone know when serving it.
🎃 Irish Báirín Breac & Halloween Traditions
The origins of traditional Irish barmbrack are deeply rooted with the Celtic holiday of Samhain (sow-in). Starting from sundown Oct 31st until sundown Nov 1st, this day was considered the Celtic New Year’s and marked the end of the harvest season and beginning of the winter season. Samhain is also considered one of the precursors to modern day Halloween celebrations.
Part of the tradition during Samhain was a type of fortune-telling game people played with barmbrack. Small trinkets and objects would be baked into the báirín breac and whoever got them in their piece would have a good or bad fortune coming to them in the new year.
Some of the items may have depended on where you lived and different traditions, but a small ring was always included. A few of these items included the following:
- Ring – means you would be married within the next year
- Pea – means you will remain a bachelor or spinster for the year
- Button & Thimble – Instead of a pea, a button for bachelor and thimble for spinster
- Bean – means you will be poor this year
- Piece of Cloth – foretold a year of wanting or bad luck ahead
- Small Stick – means an unhappy marriage ahead or year of disputes
- Coin – foretold prosperity in the year ahead or good luck
In modern times, these trinkets are less likely to be found in the bread for food health and safety reasons. However, the toy ring is still commonly added in a small wrapping of parchment paper.

📖 Barmbrack Variations
Traditional Irish barmbrack is mostly routine in what goes into it and how it is made. However, there is some ley way into what you fill it with and how you top it. Here’s just a few ideas and examples you can try out.
Dried Fruit – As mentioned above in the ingredients section, raisins and golden raisins are the standard, but you can also add or switch in other things like currants, cranberries, blueberries, apricots, etc. Use the dried versions of those, however.
Soaking Fruit – More common in tea brack, but increasing done in yeasted barmbracks as well, is soaking the dried fruit and mixed peel in strong tea. If you would like to do this brew 2 cups of strong Irish black tea, allow it to cool, then pour over the dried fruit and mixed peel in a bowl, cover, and leave overnight. Alternatively, you can pour the tea over the fruit while hot and let it steep with the fruit for 1-2 hours. Be sure to drain and pat the fruit dry before adding it to the dough. Optionally, you can also add a few tablespoons of Irish whiskey to the tea.
Sugar Topping – Instead of the honey I used here, you can brush the top with some milk and sprinkle the top with coarse sugar before baking. Alternatively, you can brush on a simple syrup when it comes out of the oven instead of the coarse sugar.
Egg Wash – Another topping option is to use an egg wash. I don’t recommend doing this before baking or it can burn. Instead, mix an egg with a splash of water and a pinch of sugar. Five or so minutes before the barmbrack is done, remove it from the oven, brush on the egg wash, and finish baking it.
🍽 Recommended Equipment
You don’t specifically need any unique equipment to make this traditional Irish barmbrack, but here’s a few things I highly recommend.
Stand Mixer – While you can certainly knead this dough by hand, having a quality stand mixer makes this so much easier. Because it is a wet dough, you would need to mix and knead the dough a bit in a mixing bowl before dumping it out and kneading by hand for a while.
Bowl Scraper – I love these inexpensive bowl scrapers for a multitude of tasks. You can scrape the dough out of the mixing bowl efficiently and cleanly, then use it to help shape and fold the dough while keeping your hands clean. After working the dough, they also help with cleanup.
Springform Pan – You could also make this barmbrack in a cake tin but using a springform pan makes it easier. This allows you to get it out without losing anything from the top or getting your hands all sticky from the honey or other finishes. I recommend getting a set that includes an 8”, 9”, and 10” springform.
❄️ How to Store Barmbrack
Once cooled completely, you can store barmbrack at room temperature for up to 1 week. If you wish to store the remaining barmbrack uncut, I recommend wrapping it completely in plastic wrap. Alternatively, if you have cut slices, you can store these in zipper locked bags instead.
If you need to store it for longer, I recommend freezing it. As above, if you have a large, uncut piece to store, wrap it in plastic wrap completely, then again in aluminum foil and freeze for up to 2 months. You can also freeze slices in much the same way.
To thaw, leave slices out at room temperature for a few hours, then toast them for the best taste.
📋 Recipe
Traditional Irish Barmbrack
Ingredients
Barmbrack:
- 1 ¼ cups whole milk, divided
- 2 teaspoons white sugar
- 1 packet instant or active dry yeast, 2 ¼ teaspoons
- 3 ½ cups all-purpose flour
- ½ teaspoon kosher salt
- ¾ teaspoon ground cinnamon, see note on mixed spice
- ½ teaspoon ground allspice
- ½ teaspoon ground nutmeg
- ¼ teaspoon ground clove
- ⅓ cup light brown sugar
- ¼ cup unsalted butter, softened
- 1 large egg, at room temperature
- 1 ¼ cups raisins
- 1 ¼ cups golden raisins
- ¾ cup mixed peel, see note
Topping:
- 2-3 tablespoons honey, optional
Directions
Make the Dough:
- Start by heating 1 ¼ cups of whole milk. It should be warm but not scalding hot, anywhere between 90-110°F (32-43°C) is fine. Pour a ½ cup into another container and stir in the white sugar and sprinkle the yeast on top of that ½ cup whole milk. Give it a quick stir and set it aside for about 10 minutes to bloom.
- In the meantime, in a large mixing bowl add 3 ½ cups all-purpose flour, ½ teaspoon kosher salt, ¾ teaspoon ground cinnamon, ½ teaspoon ground allspice, ½ teaspoon ground nutmeg, ¼ teaspoon ground close, and ⅓ cup light brown sugar and whisk together. Slice the softened ¼ cup of unsalted butter into pieces and cut it into the flour mixture with a pastry blender or use your hands and rub it in until fully distributed.
- In the bowl of a stand mixer with the dough hook attachment, add the flour and butter mixture. Once the yeast has bloomed, add this as well. Mix at low speed until the flour has absorbed most of the liquid.
- Finally, add 1 large egg to another ½ cup of the whole milk (you should have a ¼ cup left now) and whisk together. Pour this into the dough mixture and mix at low speed until combined. Turn speed up just one level and allow it to knead the dough for at least 5-8 minutes.
- If the dough seems a little dry after the first 2-3 minutes, you can add more of the whole milk a teaspoon or so at a time. This is a fairly wet dough, so it won’t be perfectly smooth and elastic, but should be solid enough to hold its shape.
First & Second Rise:
- If needed, pour the dough onto a floured work surface and finish kneading it by hand for a minute or two. It should still be a bit sticky but not so wet it looks like a batter. Lightly oil a large mixing bowl and place inside. Cover with plastic wrap or a damp towel and allow it to rise until in a warm area doubled in size, at least 1 hour.
- Once doubled in size, punch down the dough and pour onto a floured work surface, adding some flour on top of the dough as well.
- Gently stretch the dough out into a large rectangle and add 1 ¼ cups raisins, 1 ¼ cups golden raisins, and ¾ cup mixed peel on top in an even layer. Fold the dough from one side into the middle, then the other side into the middle. Turn it 90 degrees and gently flatten back out and repeat this process 2-3 more times until the fruits are fully incorporated.
- If you plan on adding any trinkets to the bread, push them into the bottom of the dough after shaping it but before placing it into the springform pan.
- Prepare a 9” springform pan by greasing the sides and bottom with butter or a baking spray. Gently shape the dough into a large, round shape and transfer it into the springform pan. Press it down a bit and try to shape it to even fit the whole width of the pan. Cover again and let rise once more for another 45 minutes or so.
Baking & Serving:
- About half-way through the second rise, preheat your oven to 350°F / 180°C. Once risen, the dough should fill the pan and be poking just over the top of the pan. Place into the middle of the oven and cook until a toothpick comes out clean, roughly 1 hour.
- The top should be fairly dark, but if you feel it’s browning too fast, place some foil over the top. Once it is finished baking, remove it from the oven and leave it in the pan until cool enough to handle.
- Take 2-3 tablespoons of honey and place it into a heatproof bowl. Microwave on high for 15-20 seconds to make it thinner and easy to work with. As soon as you remove the barmbrack from the oven, brush the honey across the entire top. This gives it a nice sheen and sweetened flavor on top.
- Once cool enough to handle, remove the barmbrack from the springform pan. You can make long slices across the width of the bread, or just cut it in half, turn it cut side down and make slices down towards the cut side. This gives you more manageable pieces. Serve warm with a good cup of tea or coffee.
- For the best experience, however, let it cool completely and then toast slices and slather with some good Irish butter. If you do add trinkets, be certain to let everyone know when serving it.


Comments
No Comments