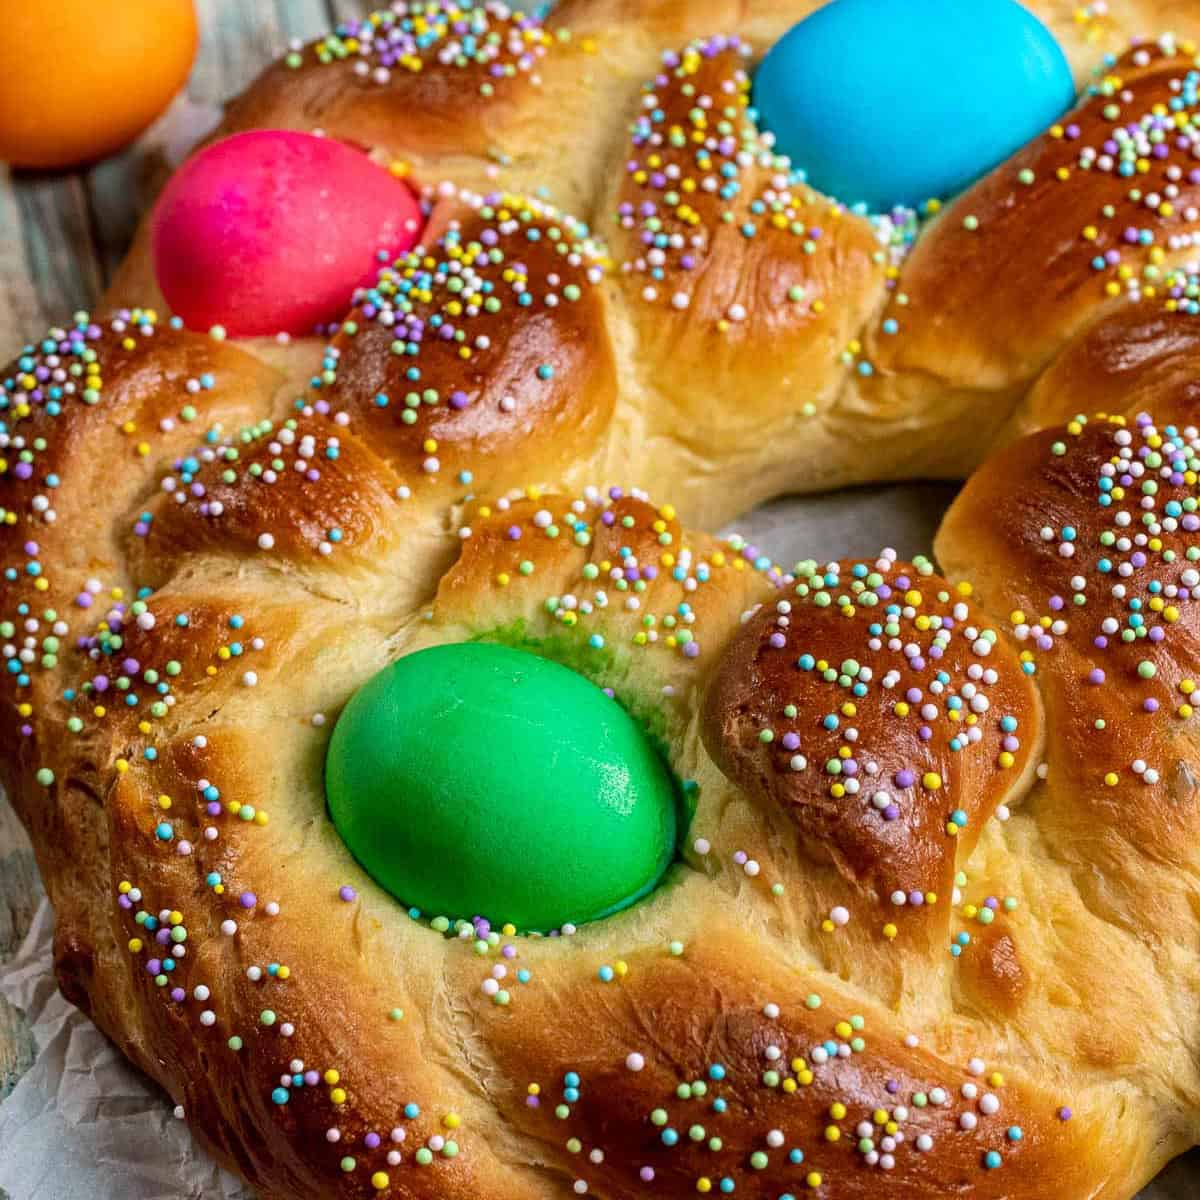
Italian Easter Bread (Pane di Pasqua)
Italian Easter bread is a rich, lightly sweet brioche type bread often braided into wreaths and decorated with colored eggs & sprinkles.
Ingredients
Dough:
- ½ cup whole milk, warmed
- 2 ¼ teaspoons instant yeast, 1 packet
- ¼ cup granulated sugar, divided
- 4 ½ cups all-purpose flour
- 1 teaspoon kosher salt
- 3 teaspoons orange zest, see note
- 3 large eggs
- ¼ cup unsalted butter, melted and cooled
- 3 tablespoons orange juice, see note
- 1 teaspoon anise extract
- ½ teaspoon vanilla extract
Decorations:
- 1 large egg, for egg wash
- 5 large eggs, raw, optional
- Nonpareils or sprinkles, optional
Directions
- If using colored eggs, dye the eggs first so that they can fully dry. The easiest and cheapest option is to use one of those Easter egg dying kits that cost $1-2. Otherwise, use a coffee cup or something of similar size and depth. Add about a tablespoon of white vinegar and enough water to cover an egg, then add 10-20 drops of food coloring to it (the more you use, the darker the coloring). Add the egg and submerge for about 5 minutes, then set aside to dry.
Make the Dough & First Rise:
- Start the bread by heating ½ cup whole milk to around 100°F / 38°C. Stir in a spoonful of sugar (about 1 teaspoon) from the ¼ cup of sugar and then add 2 ¼ teaspoons yeast (1 packet). Set aside for 5-10 minutes until bubbly and frothy (if it doesn’t bloom, toss out and start again with fresher yeast). Melt the ¼ cup unsalted butter and set aside to cool slightly.
- In a mixing bowl, combine 4 ½ cups all-purpose flour, 1 teaspoon kosher salt, and 3 teaspoons orange zest. Whisk well to combine and set aside.
- In the bowl of a stand mixer, or in a large mixing bowl, add 3 large eggs and the remaining sugar. Whisk for a minute or two until the eggs are fully mixed and the sugar has been dissolved and combined. Squeeze in about 3-4 tablespoons of juice from the orange, add the reserved melted butter, 1 teaspoon anise extract, and ½ teaspoon vanilla extract and whisk again to combine.
- Pour in the bloomed yeast mixture and whisk together again. If using a stand mixer, switch to the dough hook attachment and add in all but about ½ cup or so of the flour mixture. Mix at low speed until the flour has mixed and a shaggy dough has formed. Stop and scrape down the sides of the bowl and add the remaining flour mixture. Start low again, scrape down the sides one more time, and increase to speed setting 2. Let the dough knead for another 6-7 minutes or so.
- The dough will still be very sticky at this point. Turn the dough out onto a generously floured surface and cover the top with more flour. Finish kneading the dough by hand for 2-3 minutes until it feels smoother and barely sticky anymore, then form into a ball. Lightly oil a mixing bowl and add the dough, turning to coat in the oil. Cover with plastic wrap or a damp kitchen towel and place in a warm, draft free place for 1.5 - 2 hours until the dough rises and is about doubled in size.
Shaping the Bread:
- After the first rise and the dough has doubled, punch down the dough and turn out onto a lightly floured surface. Weigh the dough and cut into 3 equal amounts or roll into a fat cylinder and estimate and cut into 3 equal pieces. Begin rolling and stretching each piece into a long, thick rope, staying as even as possible in thickness. If the dough feels like it is resisting this process, let the dough rest for 5-10 minutes and try again (this allows the gluten protein to relax some).
- Roll each strand about 22-24-inches long. Set the ends together on one side and pinch together. When making a 3-strand braid, begin with the left-most strand and cross it over the middle strand, then take the right-most strand and cross it over the new middle strand. Continue this process until you run out of room. Keep the braids somewhat loose so you can easily push the eggs between the braids later.
- Line a baking sheet with parchment paper or a silicone bread mat. Gently transfer the braided dough onto the pan and form into a round wreath shape. Pinch the ends of the braid together. Gently pull the braids open slightly and slide a dyed egg in between the braids, making sure to stay towards the middle or inside of the braid so that the egg doesn’t roll off the top during the second bread rise
Second Rise & Baking:
- For wreath shaped bread, 5 eggs look best. Cover again and allow to rise a second time, about 45 minutes, or until roughly doubled in size. This should also help lock the eggs into the dough.
- When almost done with a second rise, preheat your oven to 350°F / 180°C. Whisk together one egg with a splash of water for the egg wash and brush onto the dough, being careful not to brush the dyed eggs which can cause the dye to run. Add nonpareils or sprinkles on top of the egg wash if using them.
- Place the baking sheet on the middle rack of the oven and cook for 30-35 minutes, until the top is golden brown. Remove it from the oven and allow it to cool in the pan for 5-10 minutes before moving the bread to a cooling rack.
- Slice and serve when at room temperature or still slightly warm.
Equipment Used
Notes
1) Anise – Anise seed adds a subtle licorice flavor to baked goods, but the addition here doesn’t make each piece of bread taste like taking a bite of black licorice candy. You could use anise seed, ground anise seed, or anise extract as I do here. If you really hate the flavor of anise seed, you can omit it altogether, or swap it with something else like ground cinnamon.
2) Eggs – There are many variations on pane di Pasqua, and how you use the eggs is completely a personal choice. Some recipes use dyed eggs, undyed eggs, or no eggs at all. You can use hard boiled eggs, or raw eggs. The raw eggs will be cooked with the bread to roughly a hard cooked consistency and can be eaten, but honestly most people just use them as decorations. Using or not using the eggs has no bearing on the flavor of the finished bread.
If you do wish to eat the eggs, eat them shortly after making the bread, otherwise they need to be removed and refrigerated after the bread has cooled.
If dyeing, use white eggs for the best color.
3) Orange – I provide rough amounts for the zest and juice in the recipe, but there’s no need to measure either one. If you use a medium to large orange, just use the zest of the whole orange, cut it in half afterwards and squeeze the juice from one half. A little more or less of the zest or juice than I list won’t hurt the finished bread (unless you go crazy and add like an entire cup or two of juice, which will definitely change things).
Nutrition
Serving: 1 loafCalories: 3057kcalCarbohydrates: 504gProtein: 93gFat: 72gSaturated Fat: 37gCholesterol: 695mgSodium: 2617mgPotassium: 1383mgFiber: 23gSugar: 62gCalcium: 358mgIron: 30mg
Tried this recipe?Let us know how it was!
